How to Redirect HTTP to HTTPS Using .htaccess

This article will show you how to redirect HTTP to HTTPS using .htaccess.
1. Access Your Website's Root Directory
Use FTP or the File Manager in your hosting control panel to navigate to your website's root directory (usually public_html).
2. Edit the .htaccess File
If you already have a .htaccess file, open it for editing. If there's no .htaccess file, create one by selecting "New File" and naming it .htaccess.
3. Add the Redirect Code
Insert the following code at the top of your .htaccess file:
RewriteEngine On
RewriteCond %{HTTPS} off
RewriteRule ^ https://%{HTTP_HOST}%{REQUEST_URI} [L,R=301]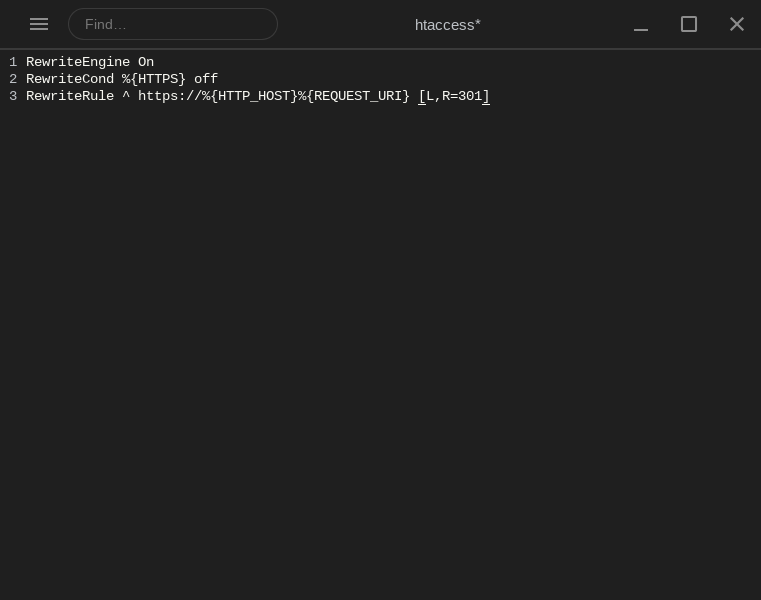
This code checks if the request is not secure (HTTP) and redirects it to HTTPS (SSL-enabled version of your site).
4. Save the Changes
After adding the code, save the .htaccess file and upload it back to the server if necessary.
Explanation of the Code
- RewriteEngine On: Enables the mod_rewrite module.
- RewriteCond %{HTTPS} off: Checks if the request is using HTTP instead of HTTPS.
- RewriteRule ^ https://%{HTTP_HOST}%{REQUEST_URI} [L,R=301]: Redirects the user to the same URL but with HTTPS, using a 301 redirect.
Important Notes
- 301 Redirect: A 301 redirect indicates that the redirect is permanent, which helps search engines update their indexes.
- SSL Certificate: Ensure you have an SSL certificate installed on your server before attempting this redirect. If you don't have one, you can get a free certificate from Let's Encrypt or from us.
- Test the Redirect: After making changes, visit your website with HTTP (e.g.
http://example.com) and check that it automatically redirects to the HTTPS version (https://example.com).
By following these steps, you can ensure that all visitors to your website are automatically directed to the secure HTTPS version.
Next: What Is SSL/TLS? explains what the certificate behind that redirect actually does.