How to Manage DNS Records in Enhance

This article will show you how to manage DNS records in Enhance.
Before you start: DNS changes take time to spread, so allow up to 48 hours before assuming something is wrong. If the domain uses external name servers, records added here have no effect: they must be added wherever the name servers point.
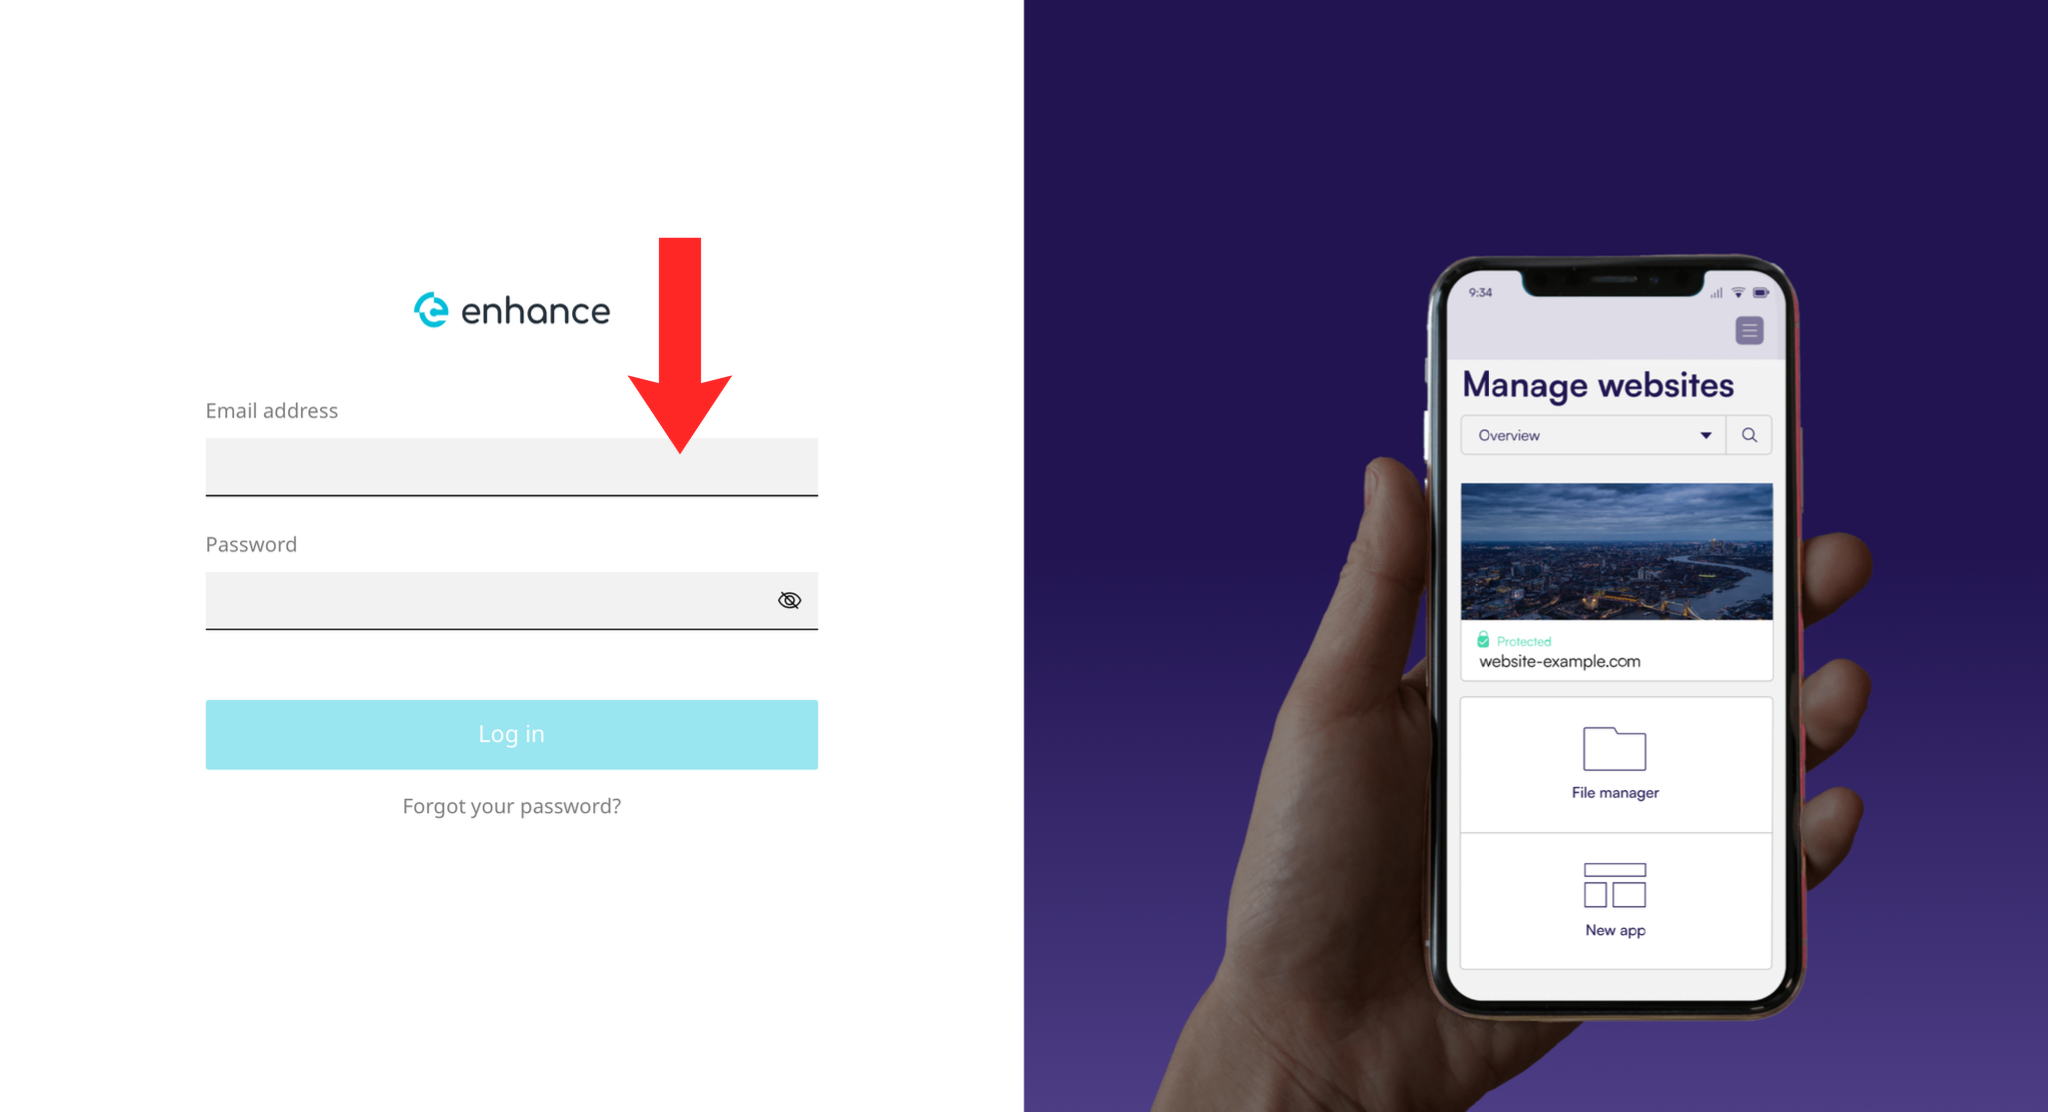
1. Log in to the Enhance Control Panel
Use your credentials to log in to your Enhance control panel.
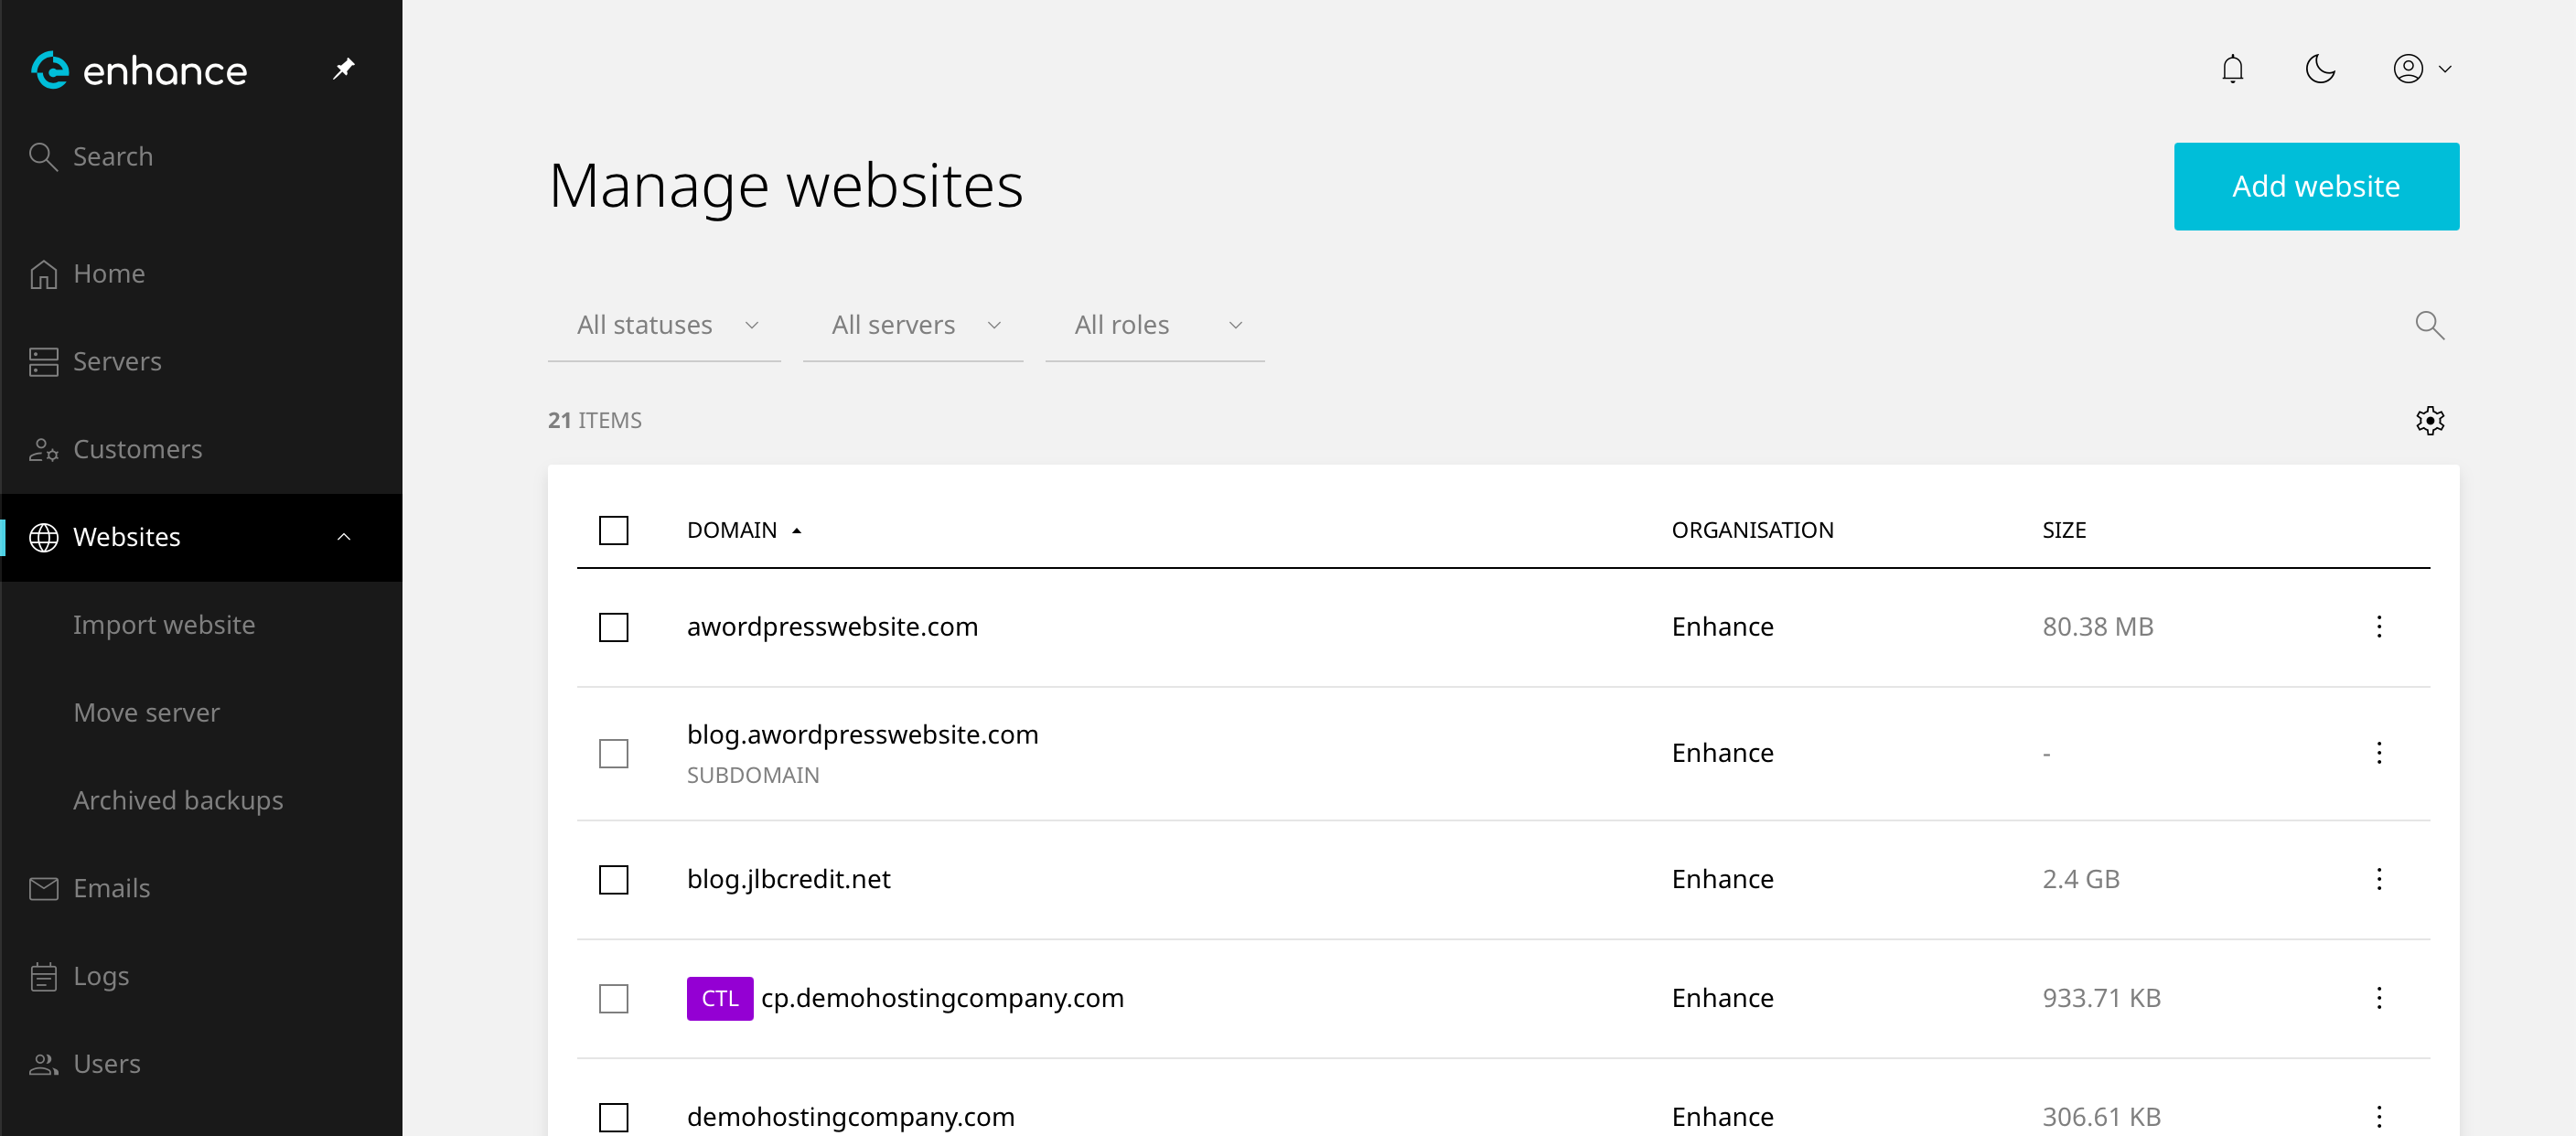
2. Navigate to Websites
Click on Websites in the left-hand navigation menu and select your website.
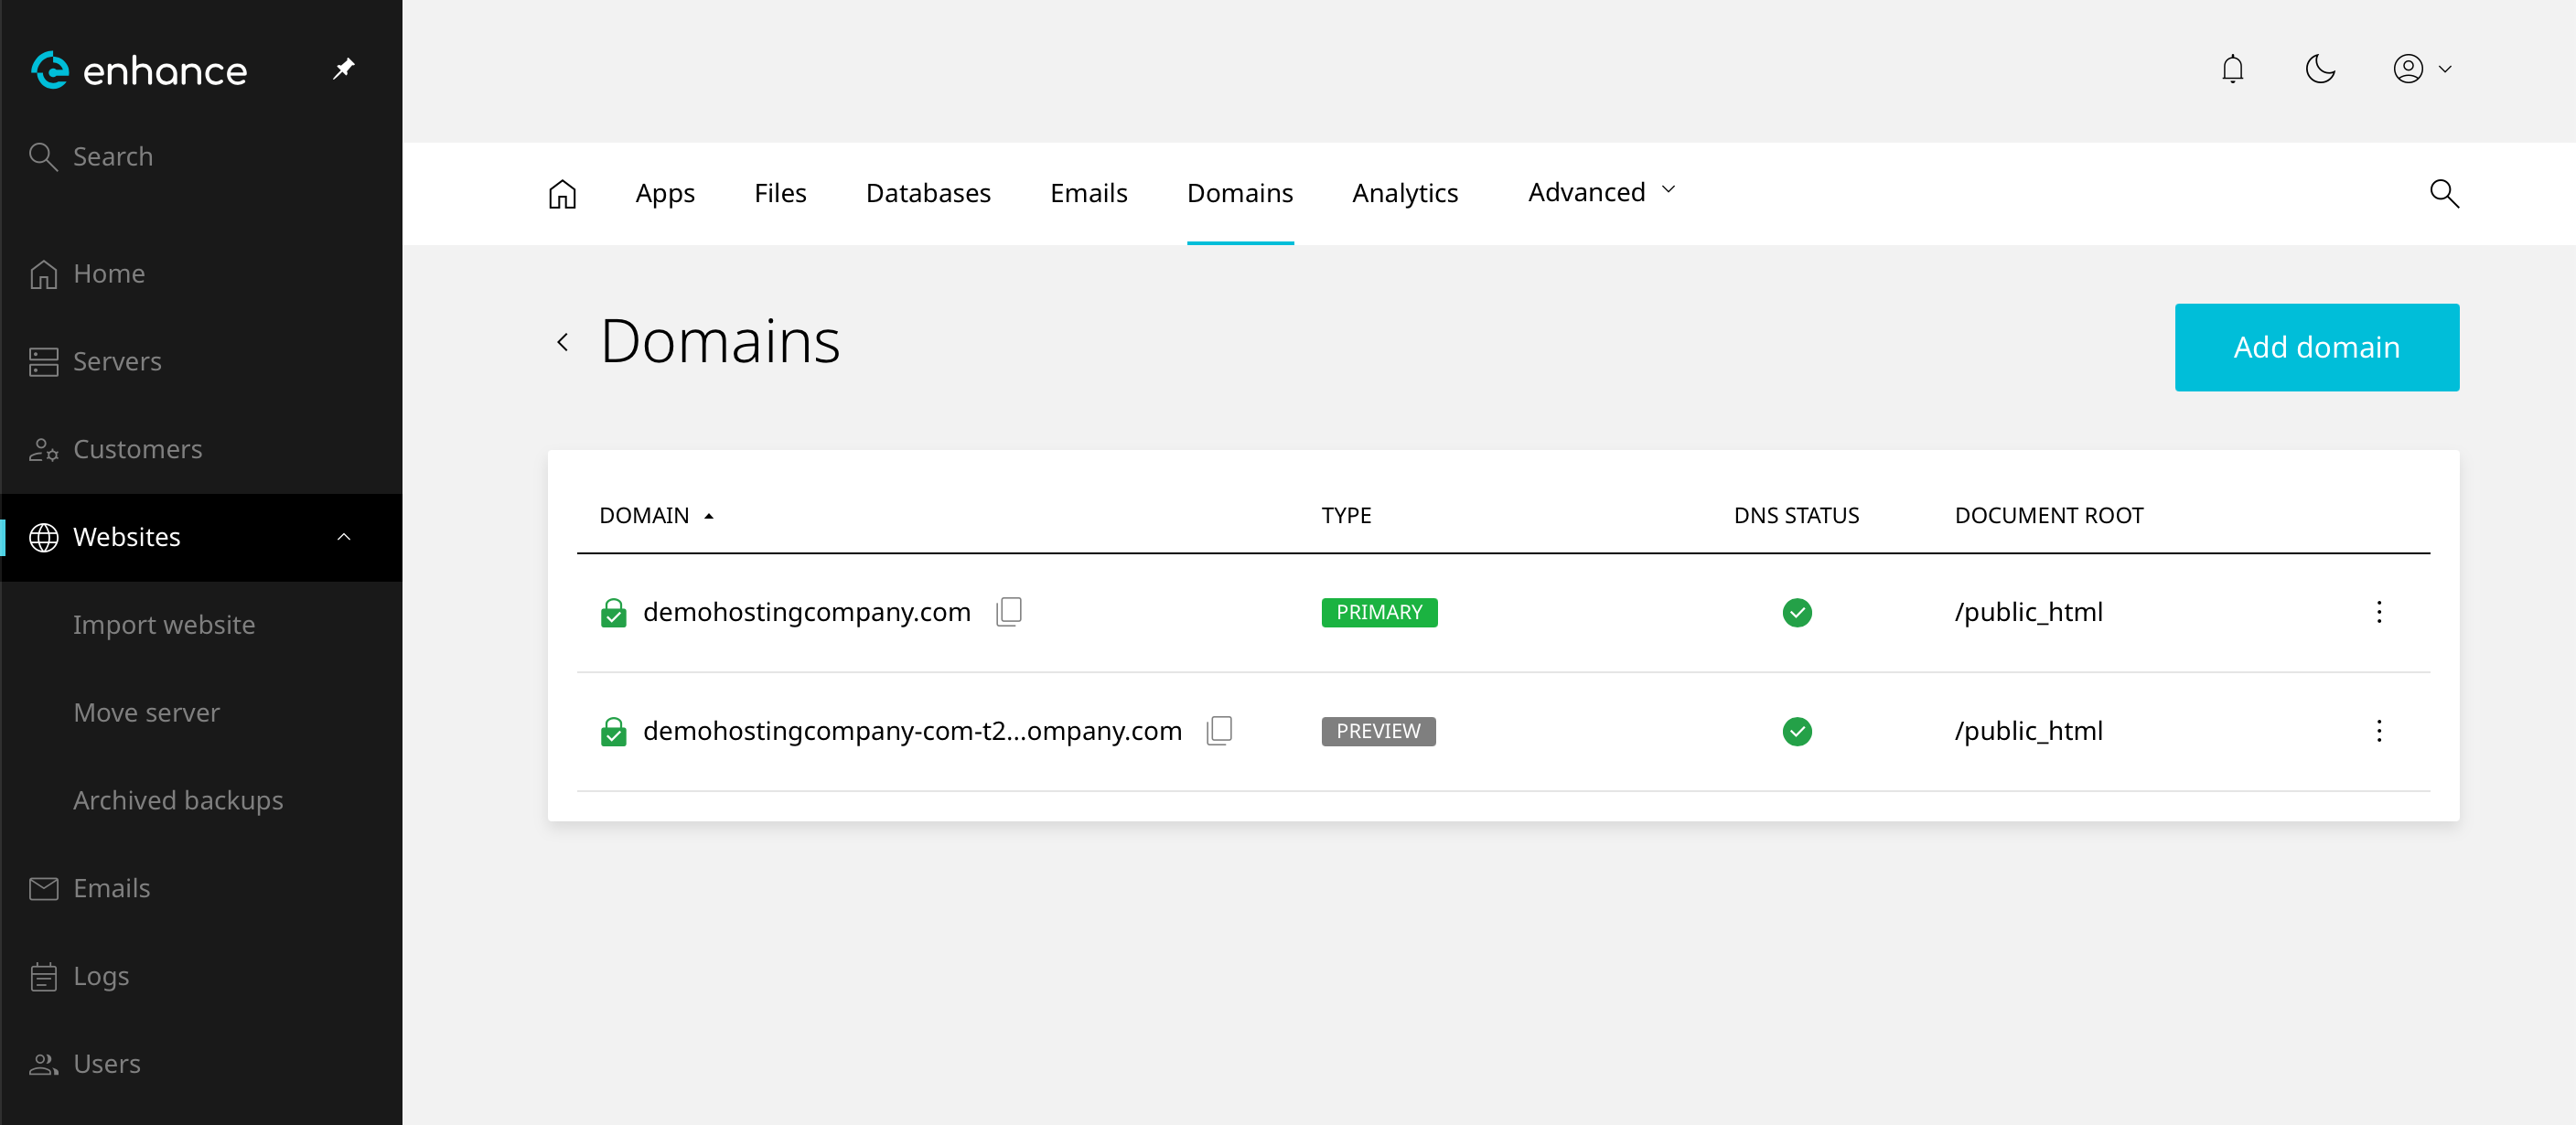
3. Open the Domains Tab
Click the Domains tab within your website settings.
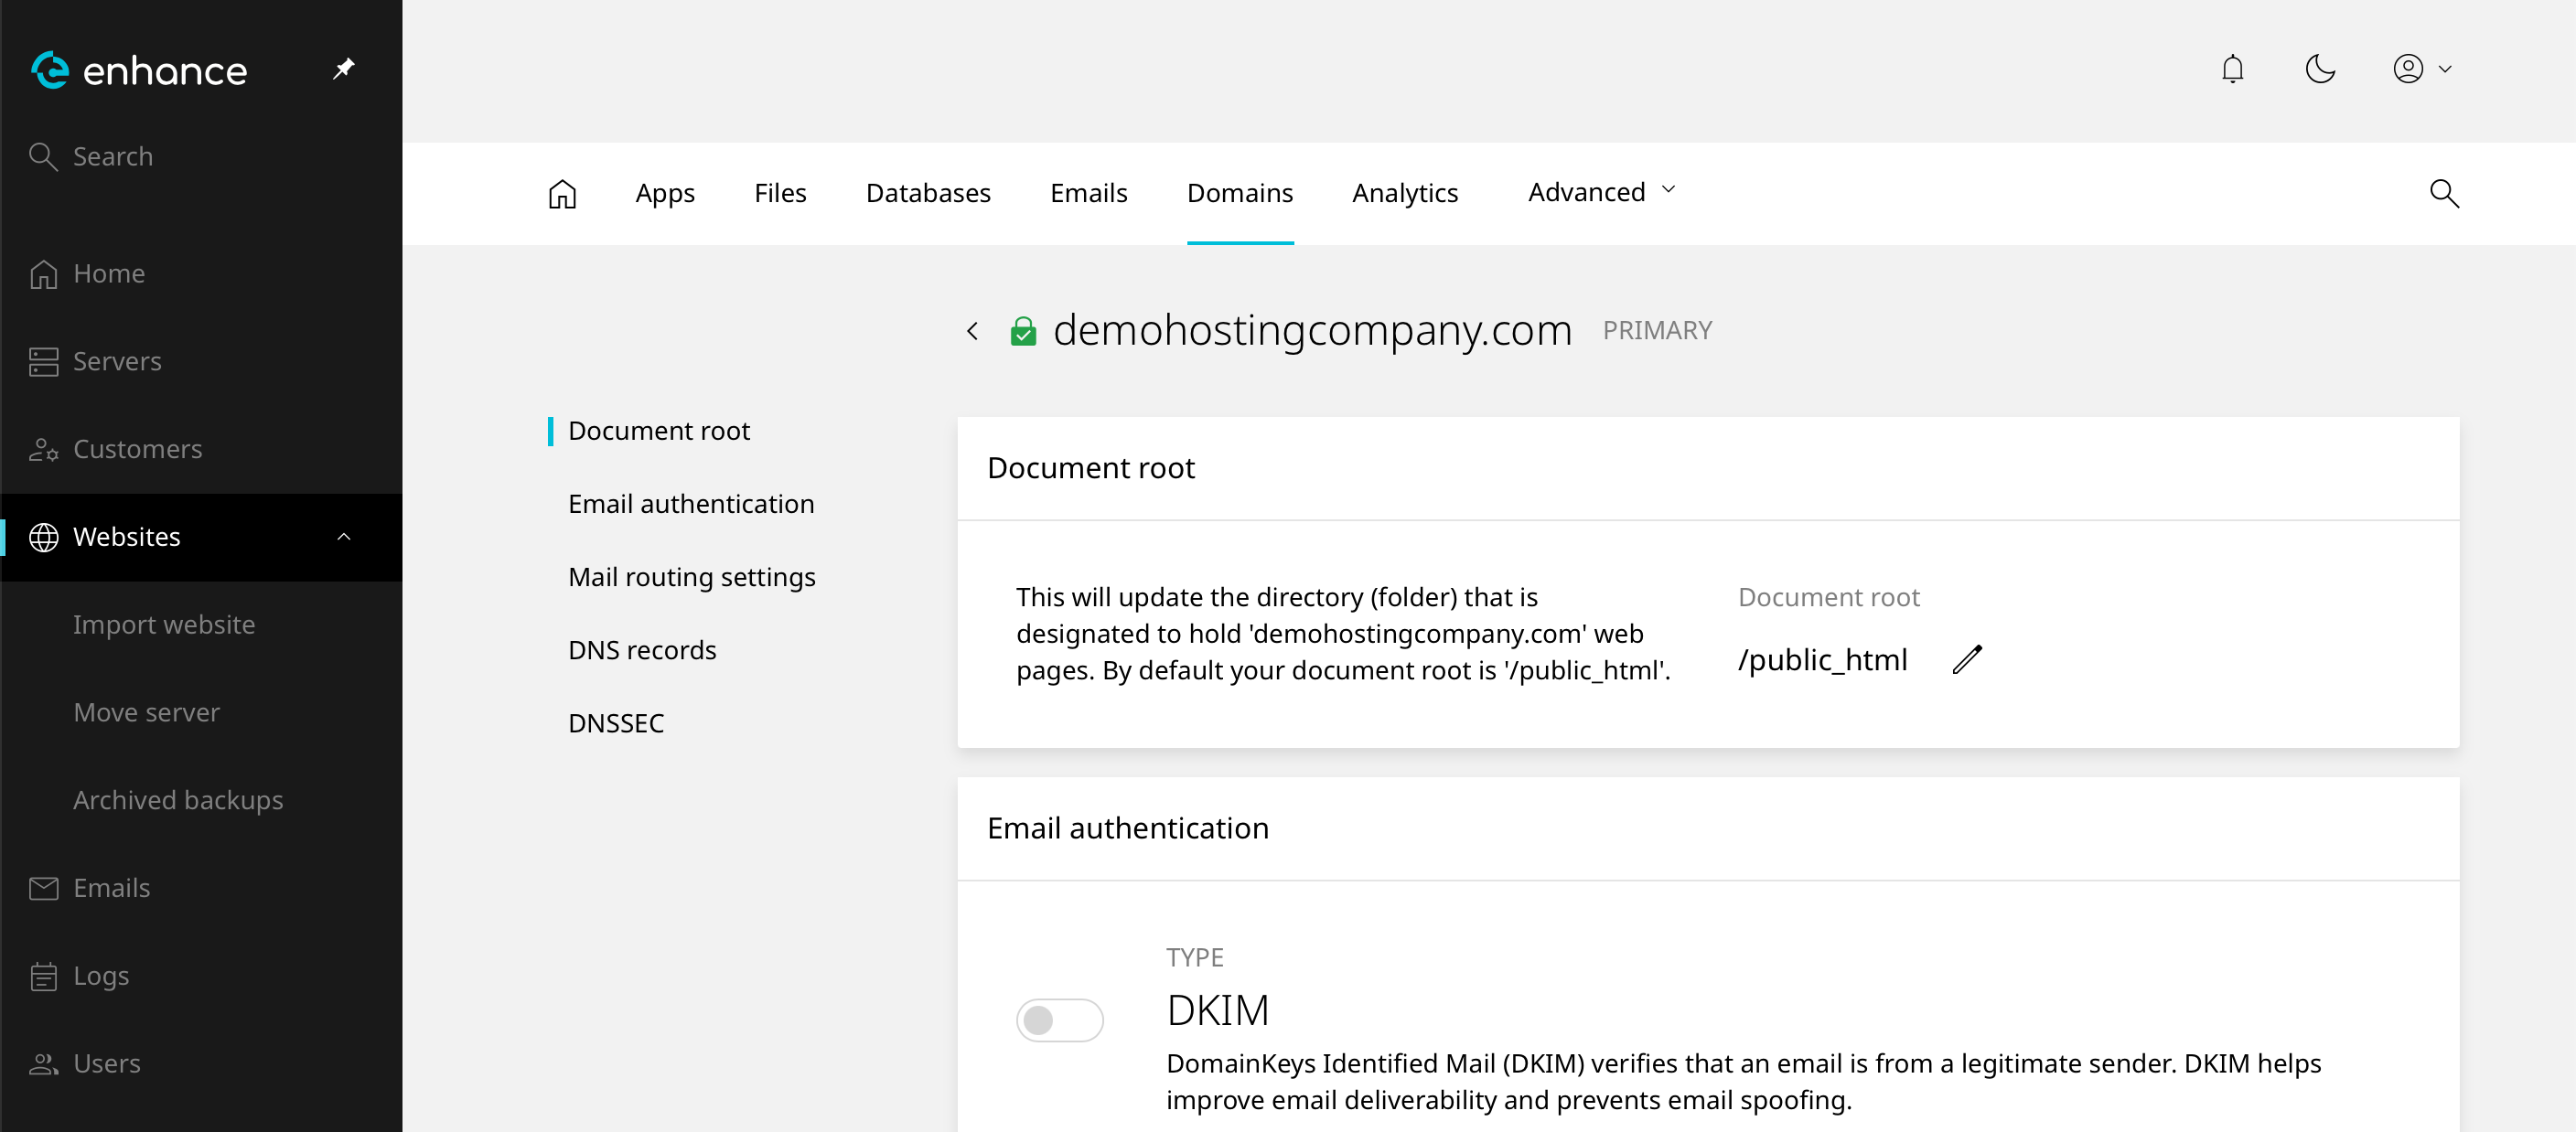
4. Select Your Domain
Click on the domain you want to manage DNS records for.
5. Open the DNS Records Tab
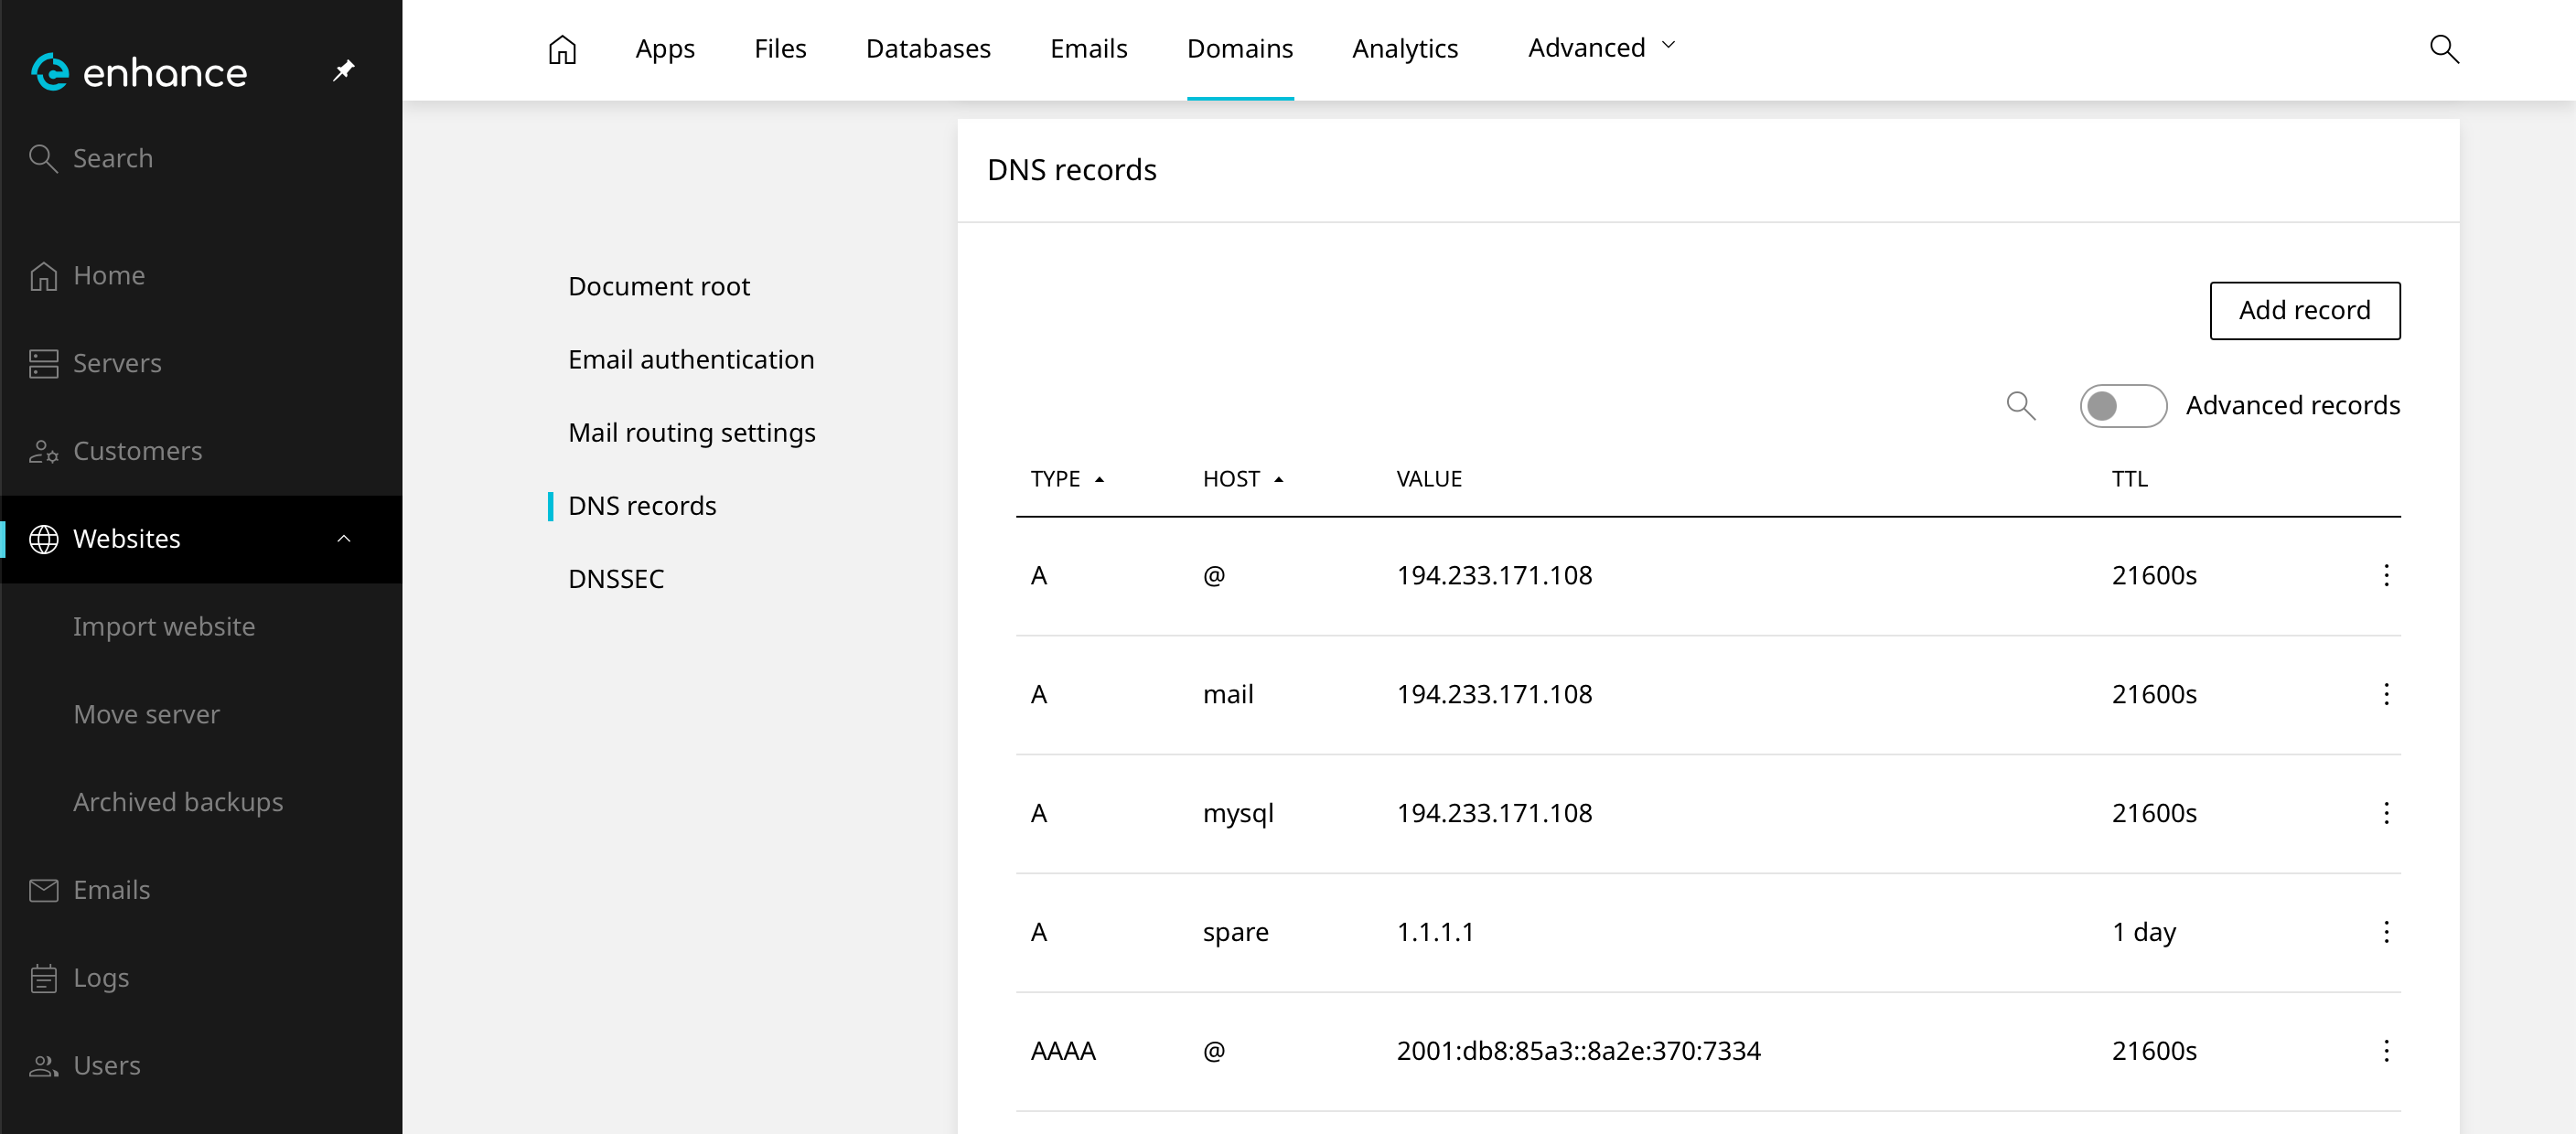
Click the DNS Records tab in the left hand menu.
6. Click on Add Record
Click on the Add Record button and fill in the required fields for your chosen record type, including the name, value, and TTL.
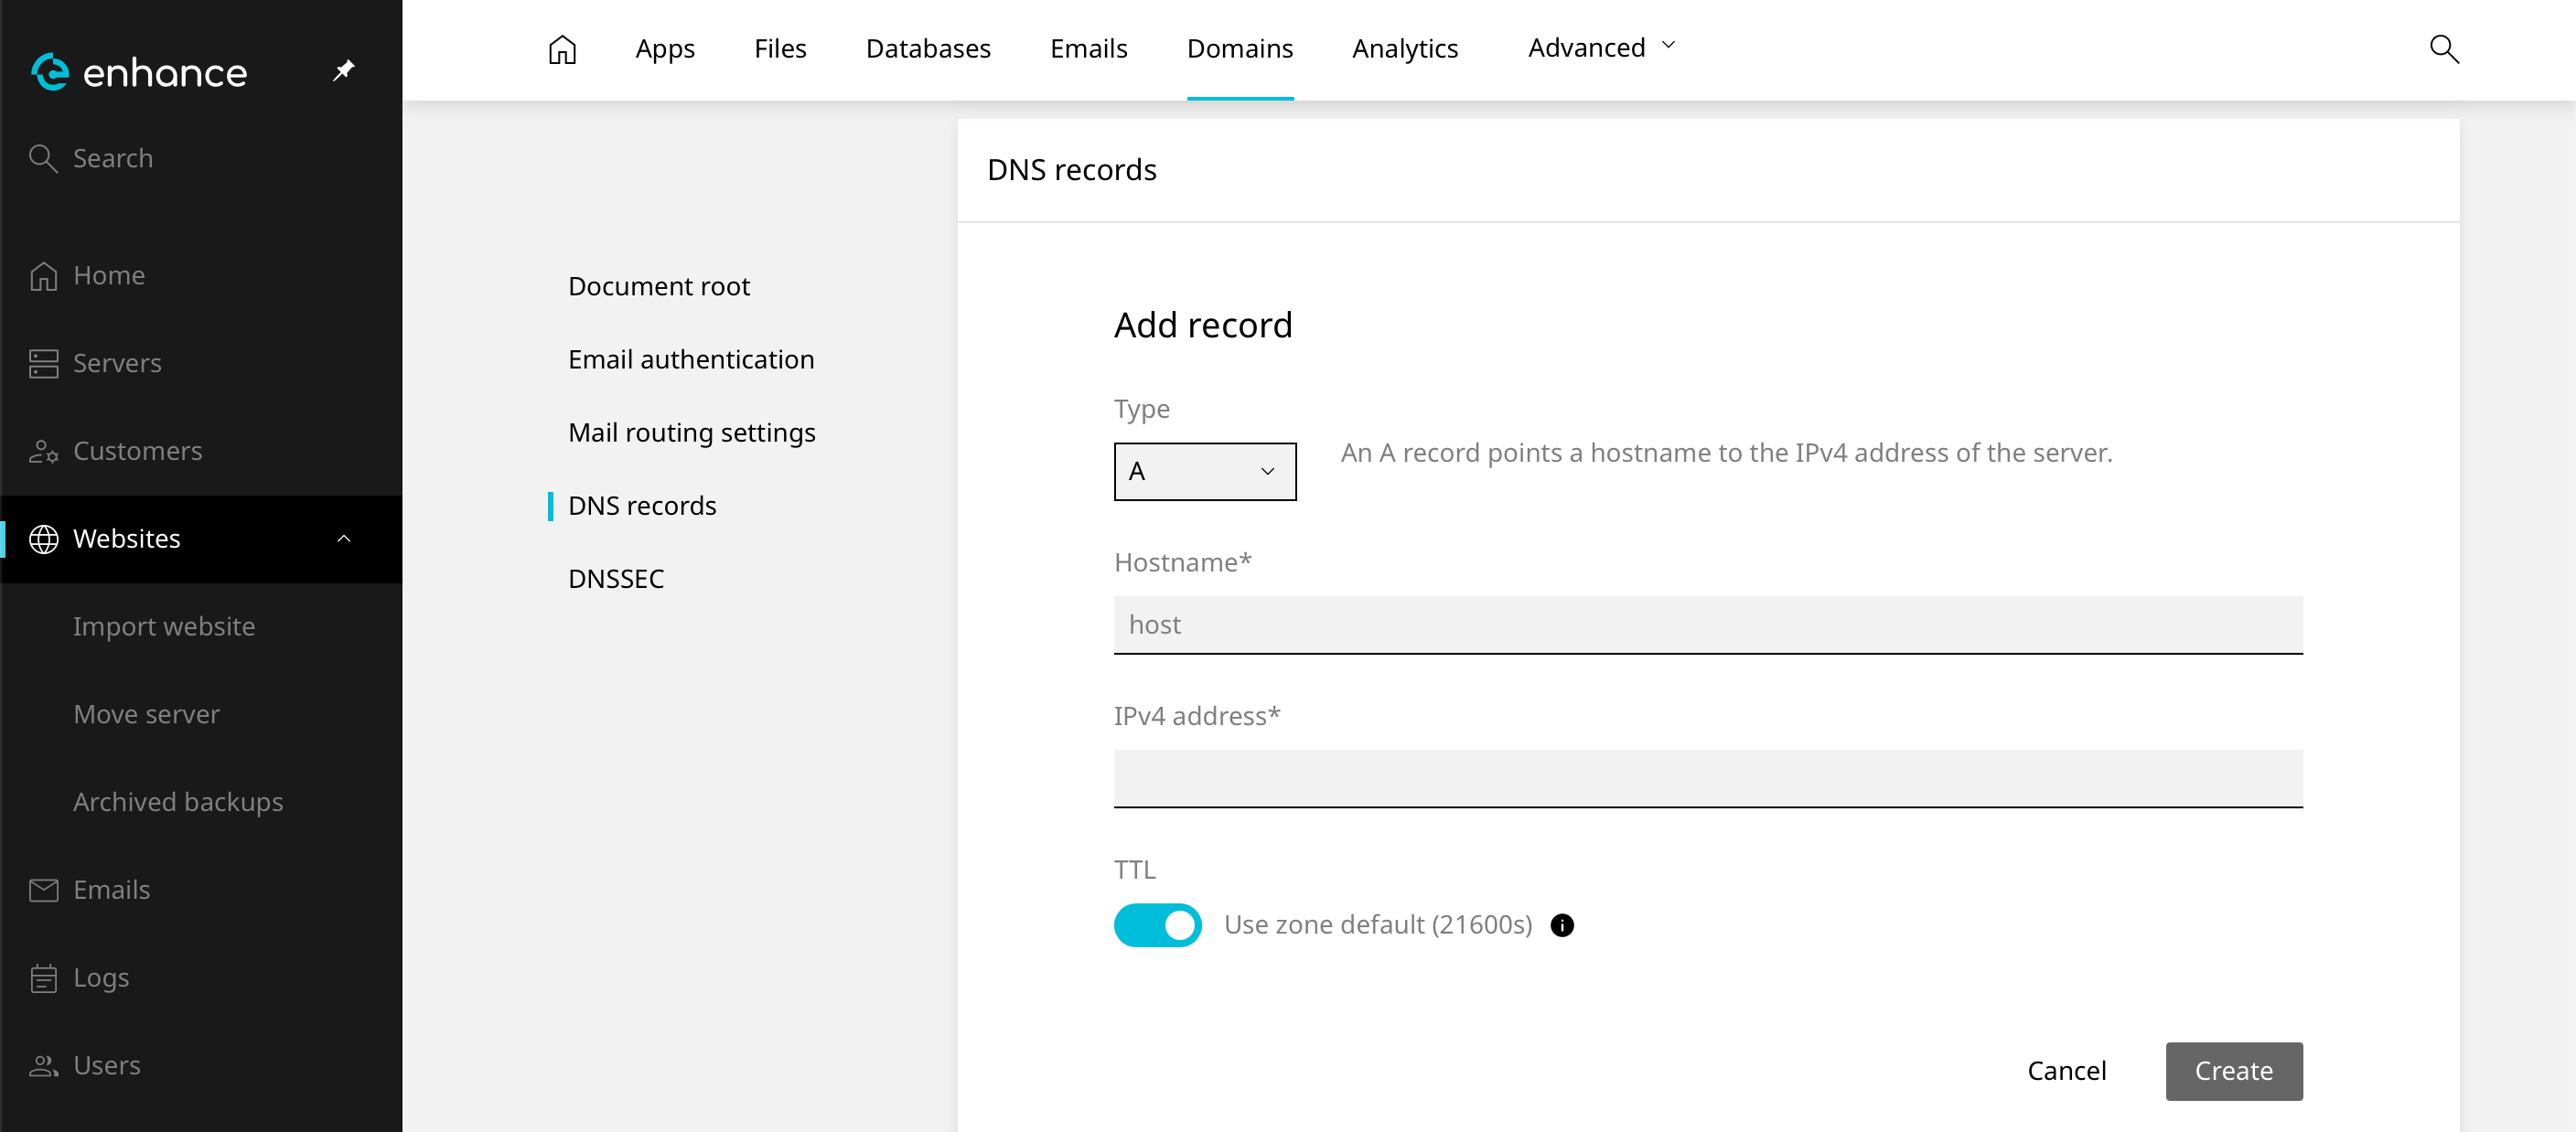
7. Save the Record
Click Create to save the DNS record.
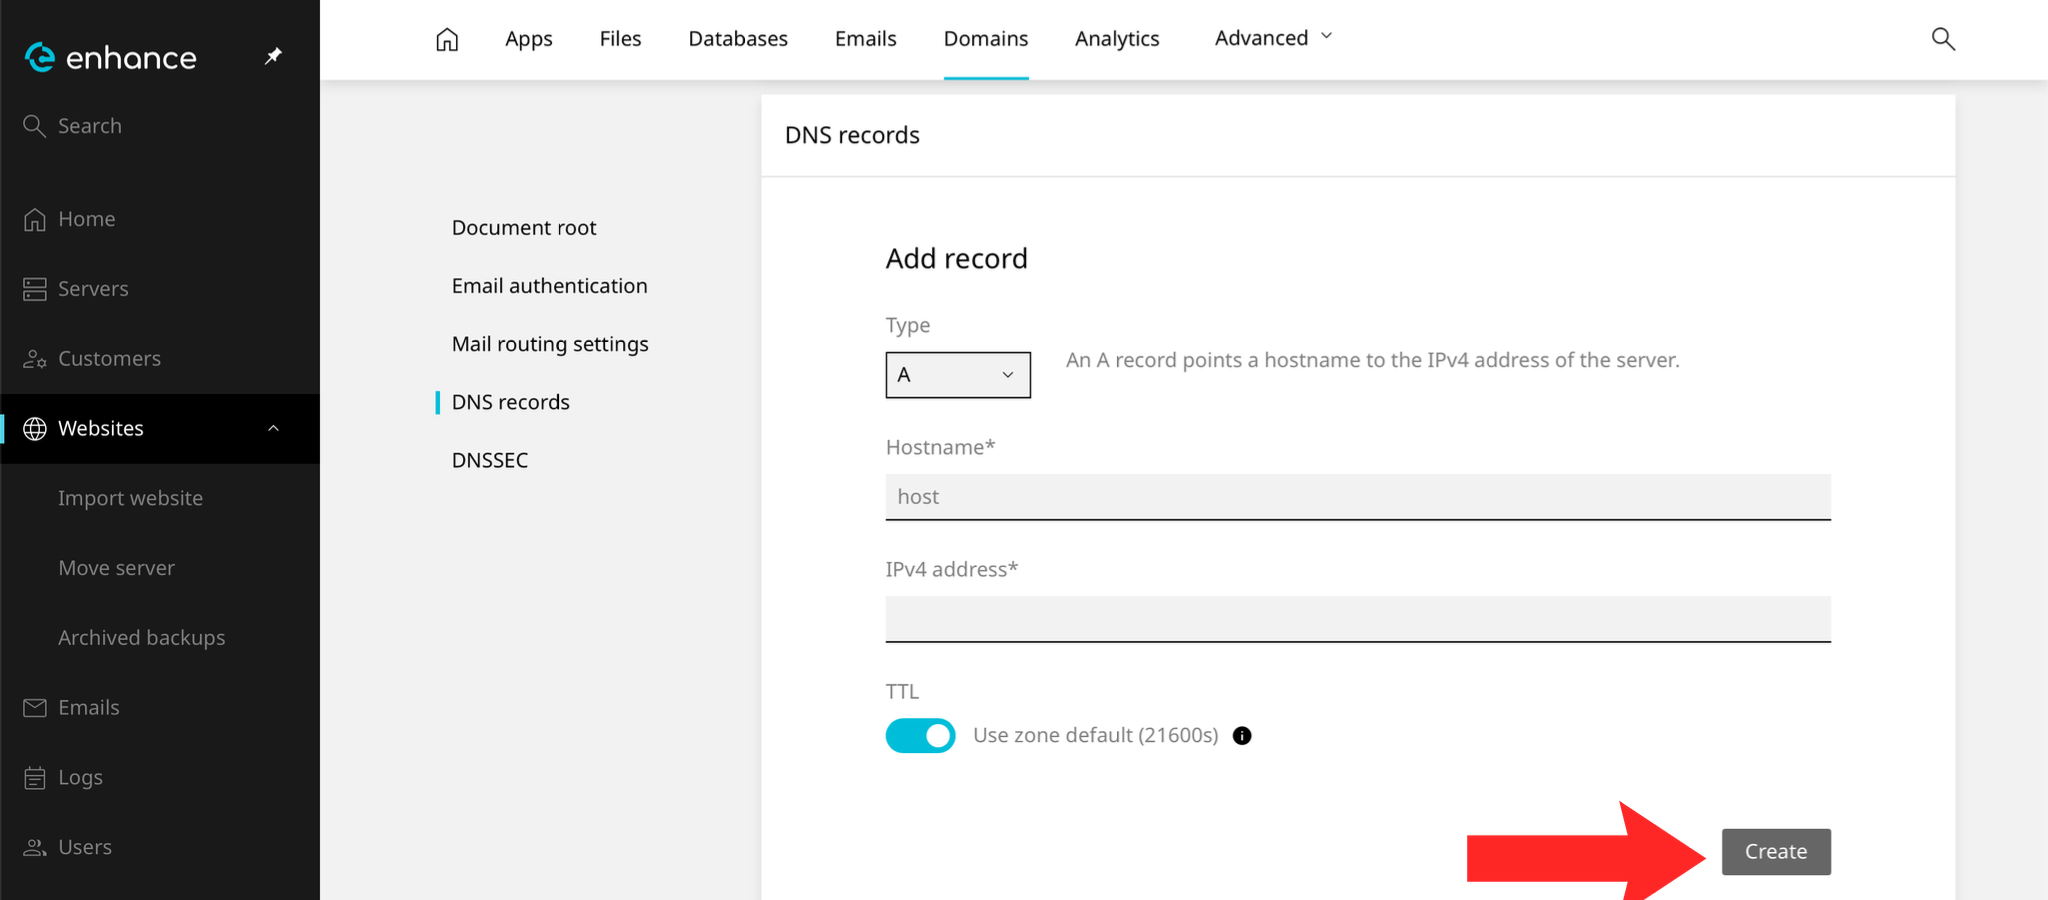
8. Verify the Record
The new record should appear in the list. Allow time for it to publish before testing, and check with a propagation tool rather than your own browser, which caches aggressively.
Next: How to Configure SPF, DKIM and DMARC Records covers the records that affect mail delivery specifically.