How to Manage Auto-Updates in Softaculous

This article will show you how to manage auto-updates in Softaculous.
Before you start: automatic updates keep a site patched without you remembering, which is the main defence against known vulnerabilities. The trade-off is that an update can break a site while you are not watching, so pair it with automatic backups.
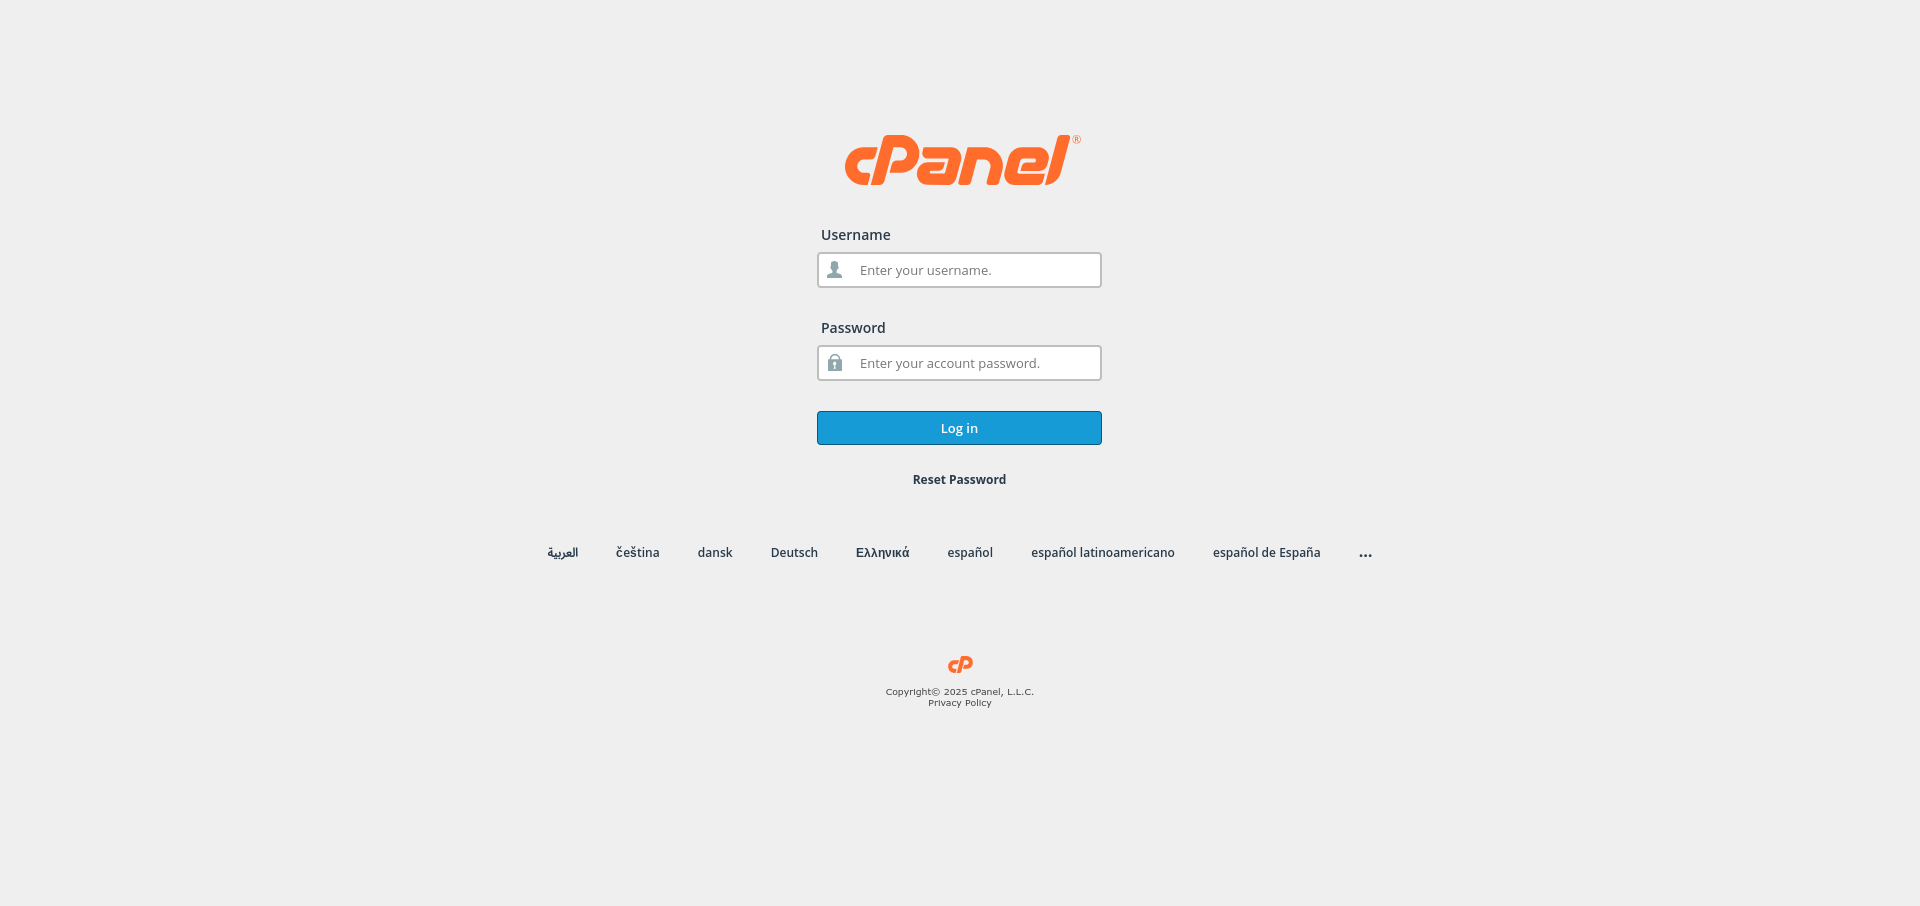
1. Log in to Your Control Panel
Use your credentials to log in to your hosting control panel.
2. Open Softaculous
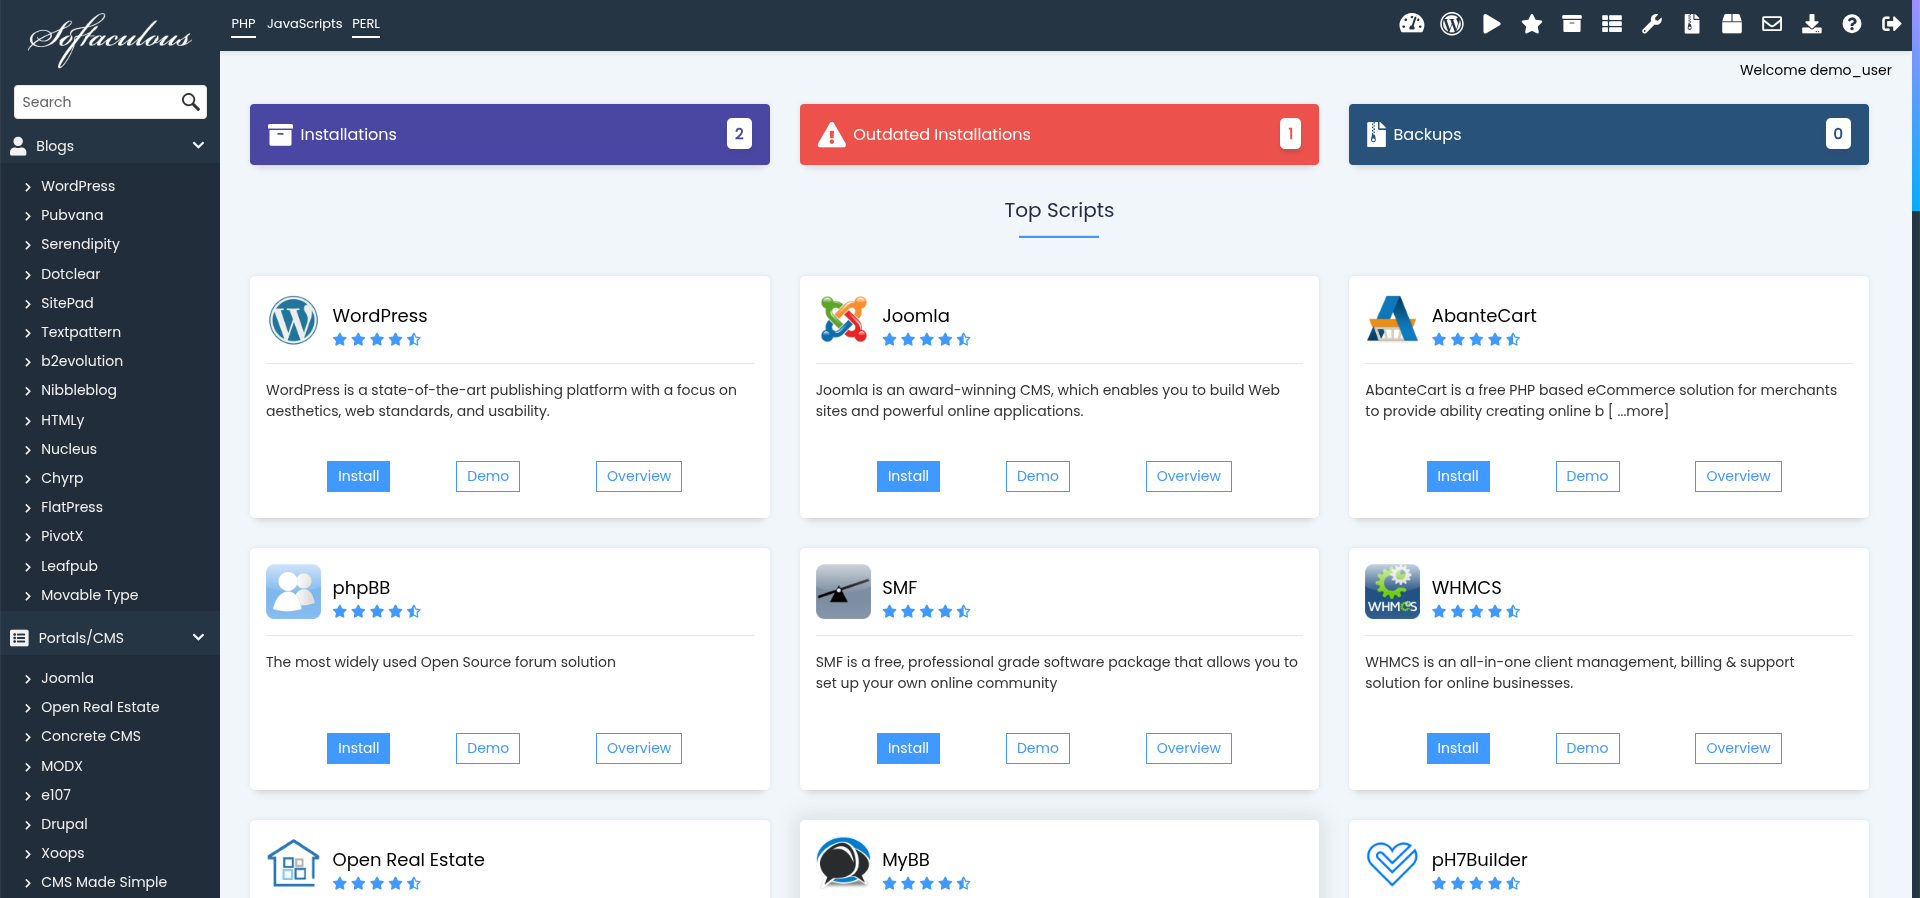
Locate and click on Softaculous Apps Installer in your control panel.
3. Navigate to All Installations
Click on All Installations in the Softaculous dashboard to view your installed applications.
4. Find the Installation to Manage
Locate the installation you want to configure auto-updates for and click the Edit icon next to it.
5. Configure Auto-Update Settings
Scroll down to the Auto Upgrade section. Choose your preferred auto-update option from the dropdown:
- Do not auto upgrade - updates must be applied manually.
- Auto upgrade minor version - only minor updates are applied automatically.
- Auto upgrade major version - all updates including major versions are applied automatically.
6. Save Your Settings
Click Save Installation to apply your auto-update preferences.
7. Verify the Settings
The installation should show its auto-update status in the list. Check back after the next update to confirm it ran.
Next: Why Keeping Your Website Software Updated Matters explains why this matters more than it might seem.