How to Reset a DNS Zone to Default in cPanel

This article will show you how to reset a DNS zone to its defaults, which clears out duplicate or broken records in one step.
1. Understand What This Removes
Resetting wipes every custom record in the zone and rebuilds it from the server defaults. Mail records, verification records and anything pointing at an external service all go. This is not reversible.
2. Write Down What You Need to Keep
Before resetting, note every record you will have to recreate: MX records, SPF, DKIM, DMARC, and any A or CNAME records pointing elsewhere. Take a screenshot of the zone.
3. Consider Fixing the Records Instead
If only one or two records are wrong, editing them is safer. Reset is for a zone that has accumulated years of duplicates and contradictions.
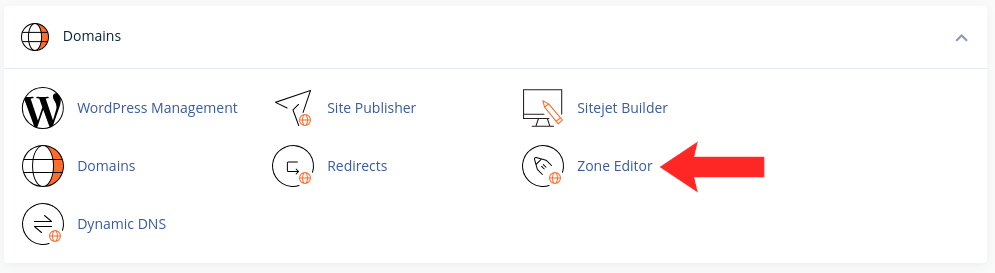
4. Open Zone Editor
Find it in the Domains section of cPanel and choose Manage next to the domain.
5. Reset the Zone
Choose the reset option and confirm. The zone rebuilds with the default records for an account on this server.
6. Recreate Your Records
Add back everything from your list. Email is the part people forget, and mail stops arriving within hours of the reset if the MX records are wrong.

7. Verify
Check the domain resolves and send a test message to an outside address.
Next: How to Configure SPF, DKIM and DMARC Records covers recreating the email records.