How to Create a Database in cPanel

This article will show you how to create a database in cPanel.
Before you start: most applications need three things together, the database name, a database user, and that user's password. Note all three as you go, because you cannot retrieve the password afterwards.
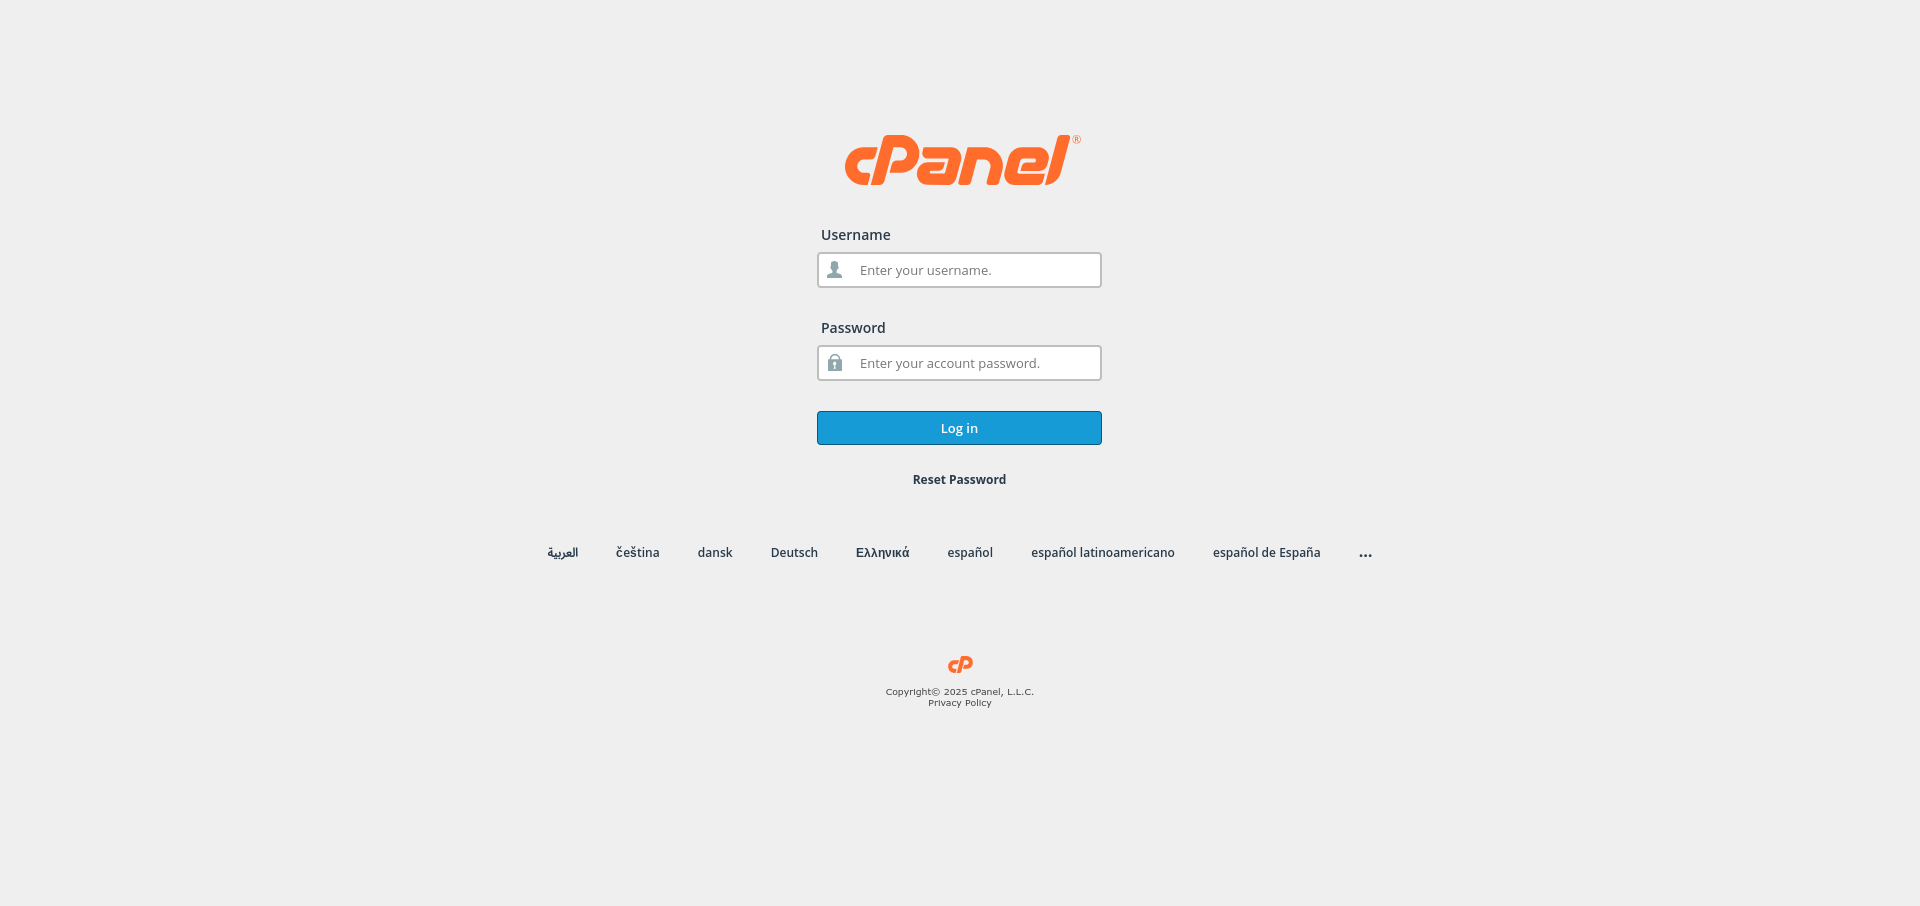
1. Log in to cPanel
Use your user details to log in to the cPanel control panel.
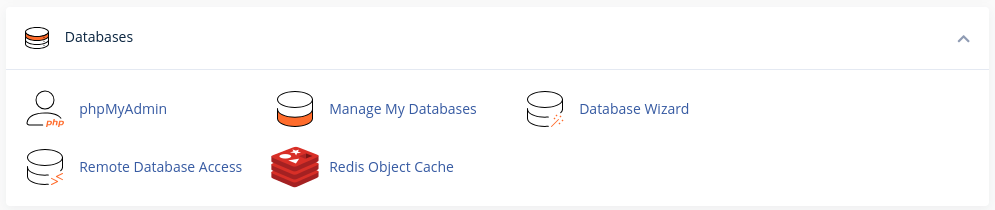
2. Navigate to the Databases Section
Scroll down and find the Databases section in cPanel.
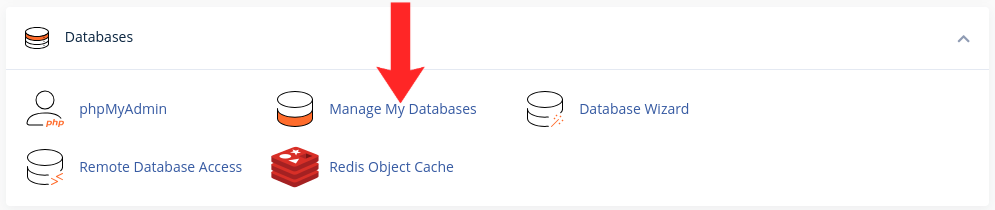
3. Access the Databases Page
Click on the Manage My Databases option under the Databases section.
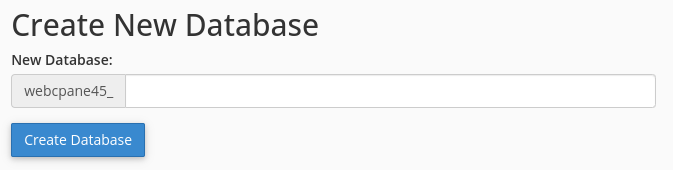
4. Create a New Database
In the Create New Database section, enter a name for your new database and click the Create Database button.
5. Create a Database User
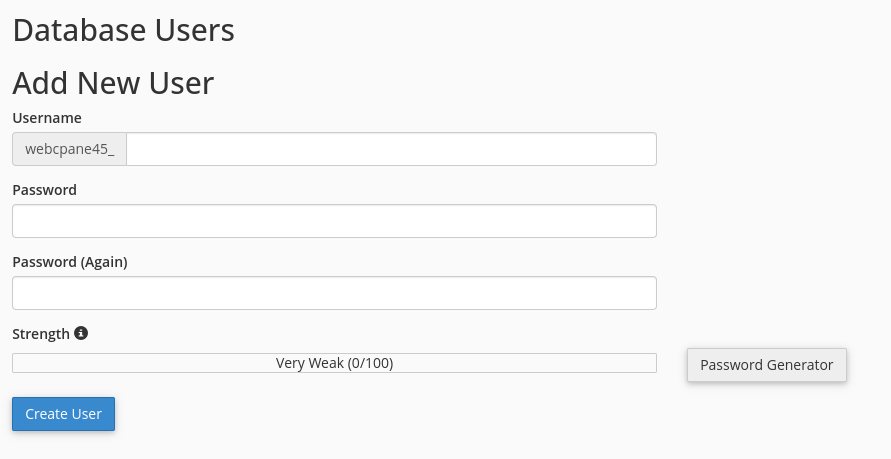
In the Database Users section, enter a username and a strong password for your new database user. Then, click the Create User button.
6. Assign User to Database
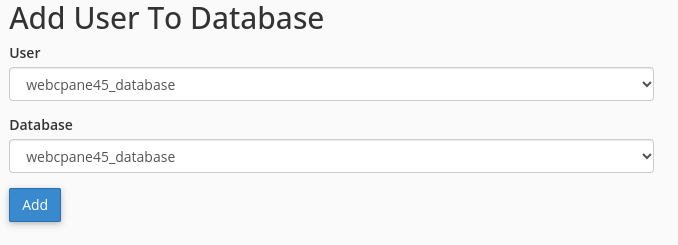
In the Add User to Database section, select the newly created user and the database. Click Add.
7. Set Database Privileges
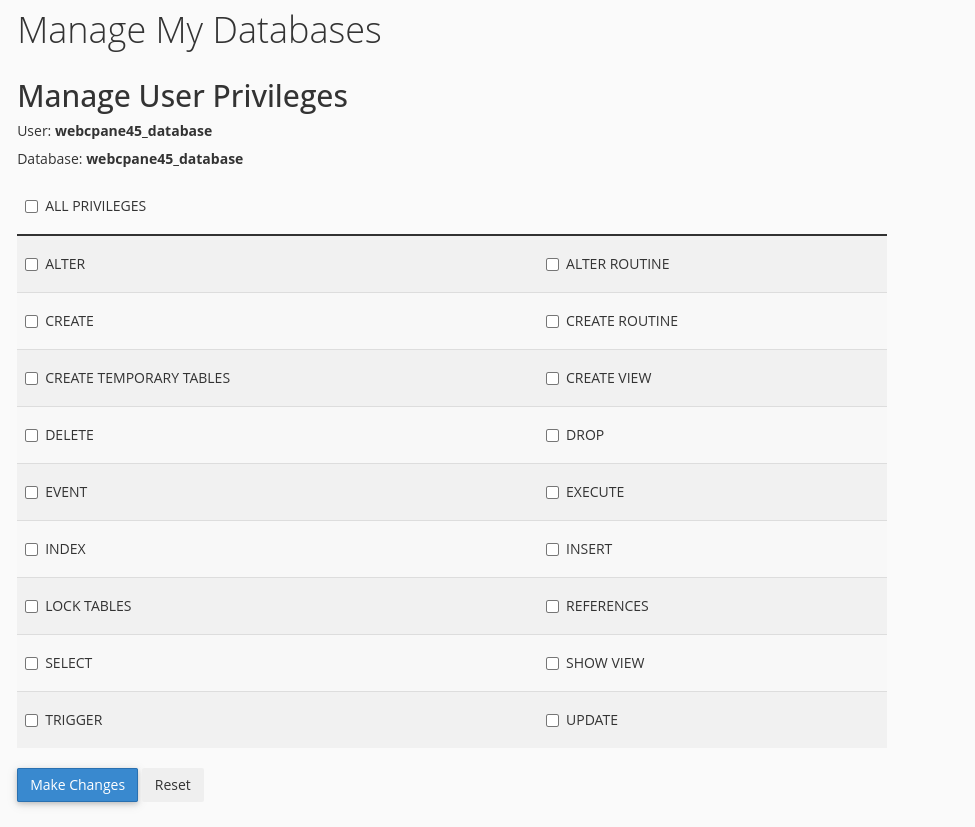
Select the privileges for the user (such as ALL PRIVILEGES) and click Make Changes to grant the selected privileges.
8. Verify the Database
The database and its user should both appear in the list, with the user shown as having privileges on it. Note the full names, which usually carry your account name as a prefix.
Next: keep the database name, user and password to hand for How to Install WordPress Using Softaculous.