How to Install WordPress Using Softaculous

This article will show you how to install WordPress using Softaculous.
Before you start: check the PHP version on your account matches what WordPress supports, and decide where the site should live. Installing into a directory places the site at example.com/directory, while leaving the directory blank installs it at the domain root. Installing to a directory that already contains a site will overwrite it.
1. Log in to the control panel
Use your user details to log in to the control panel.
2. Navigate to the Softaculous Apps Installer
Scroll down until you find the Softaculous Apps Installer section in the control panel.
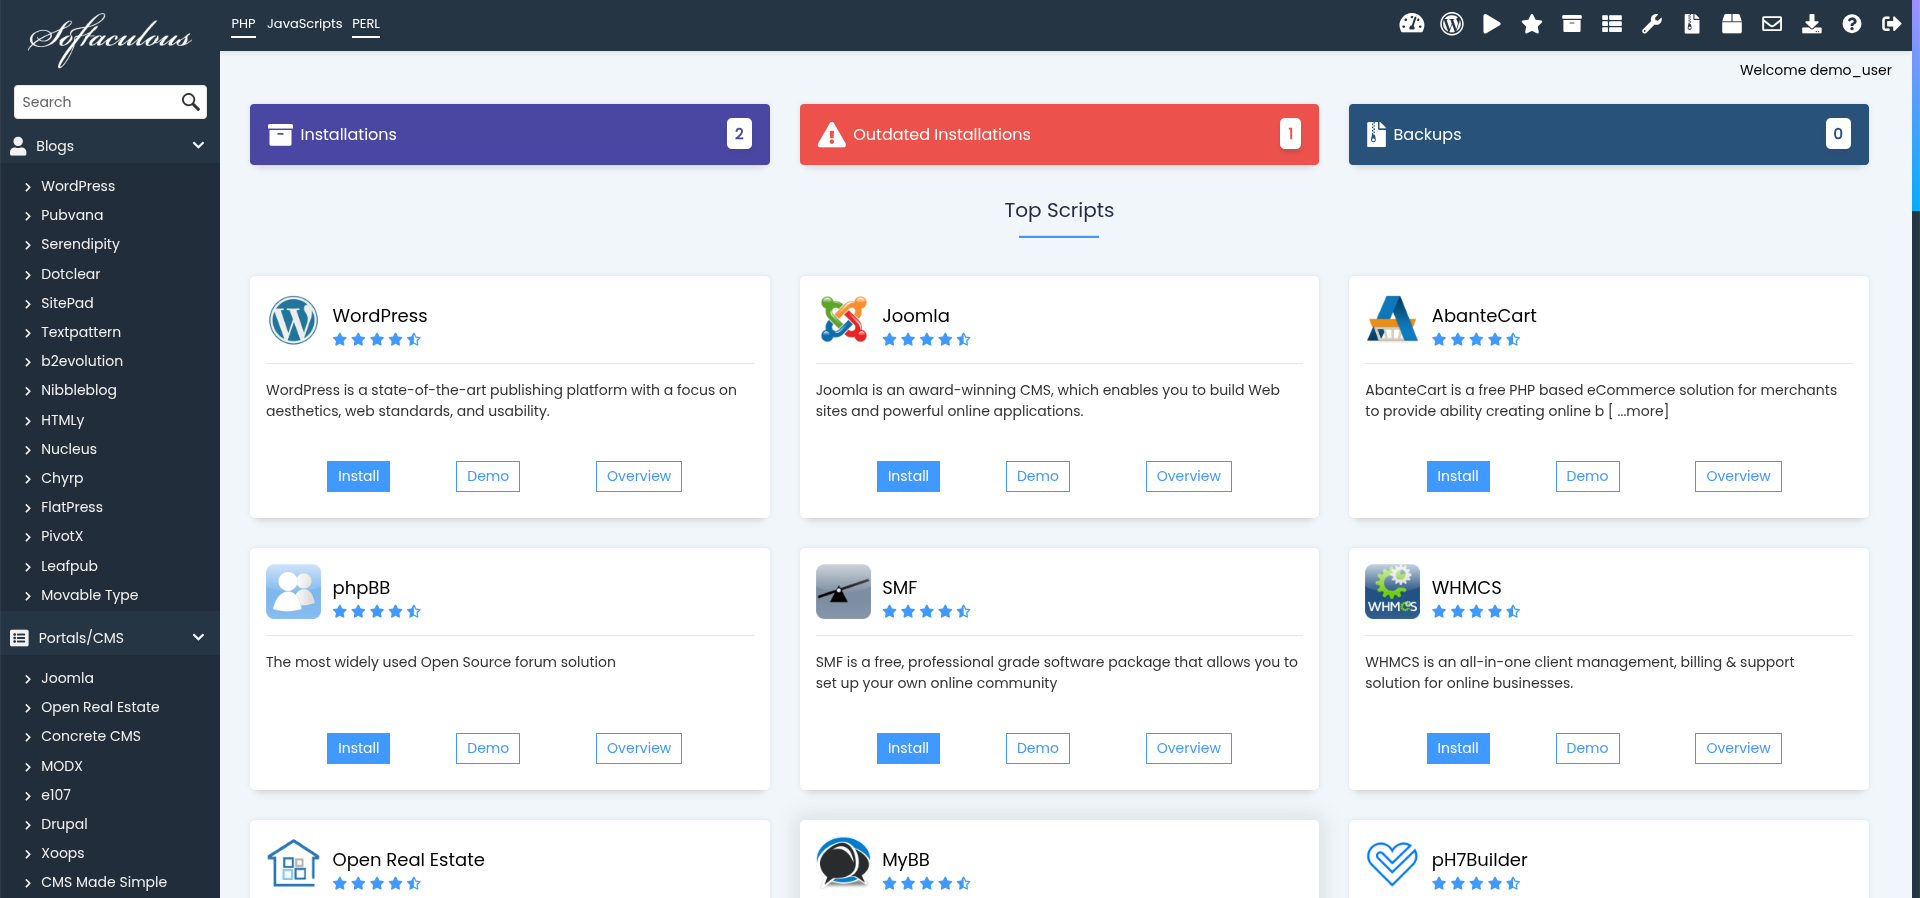
3. Select WordPress
In the Softaculous panel, click on WordPress under the "Blogs" category.
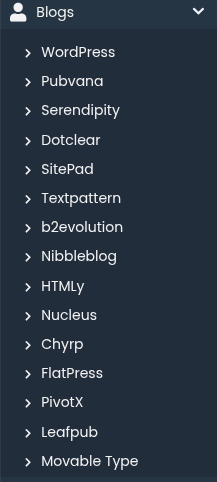
4. Click Install
On the WordPress page, click the Install button to begin the installation process.

5. Fill in the Installation Details
Enter your site details, including the domain, site name, and admin login credentials.
6. Complete the Installation
After filling in all necessary details, click the Install button at the bottom of the page to begin the installation.
7. Verify the Installation
Visit the address you installed to and check WordPress loads. Softaculous emails the admin details, but save them somewhere yourself, since that email is easy to lose.
Next: log in and start setting it up with How to Log In to the WordPress Dashboard, or see How to Install WordPress Manually if you would rather do it by hand.