How to Install WordPress Manually

This article will show you how to install WordPress manually.
A manual installation is worth knowing when you want control over the details, or when an automatic installer is not available. If you would rather it was done for you, see How to Install WordPress Using Softaculous.
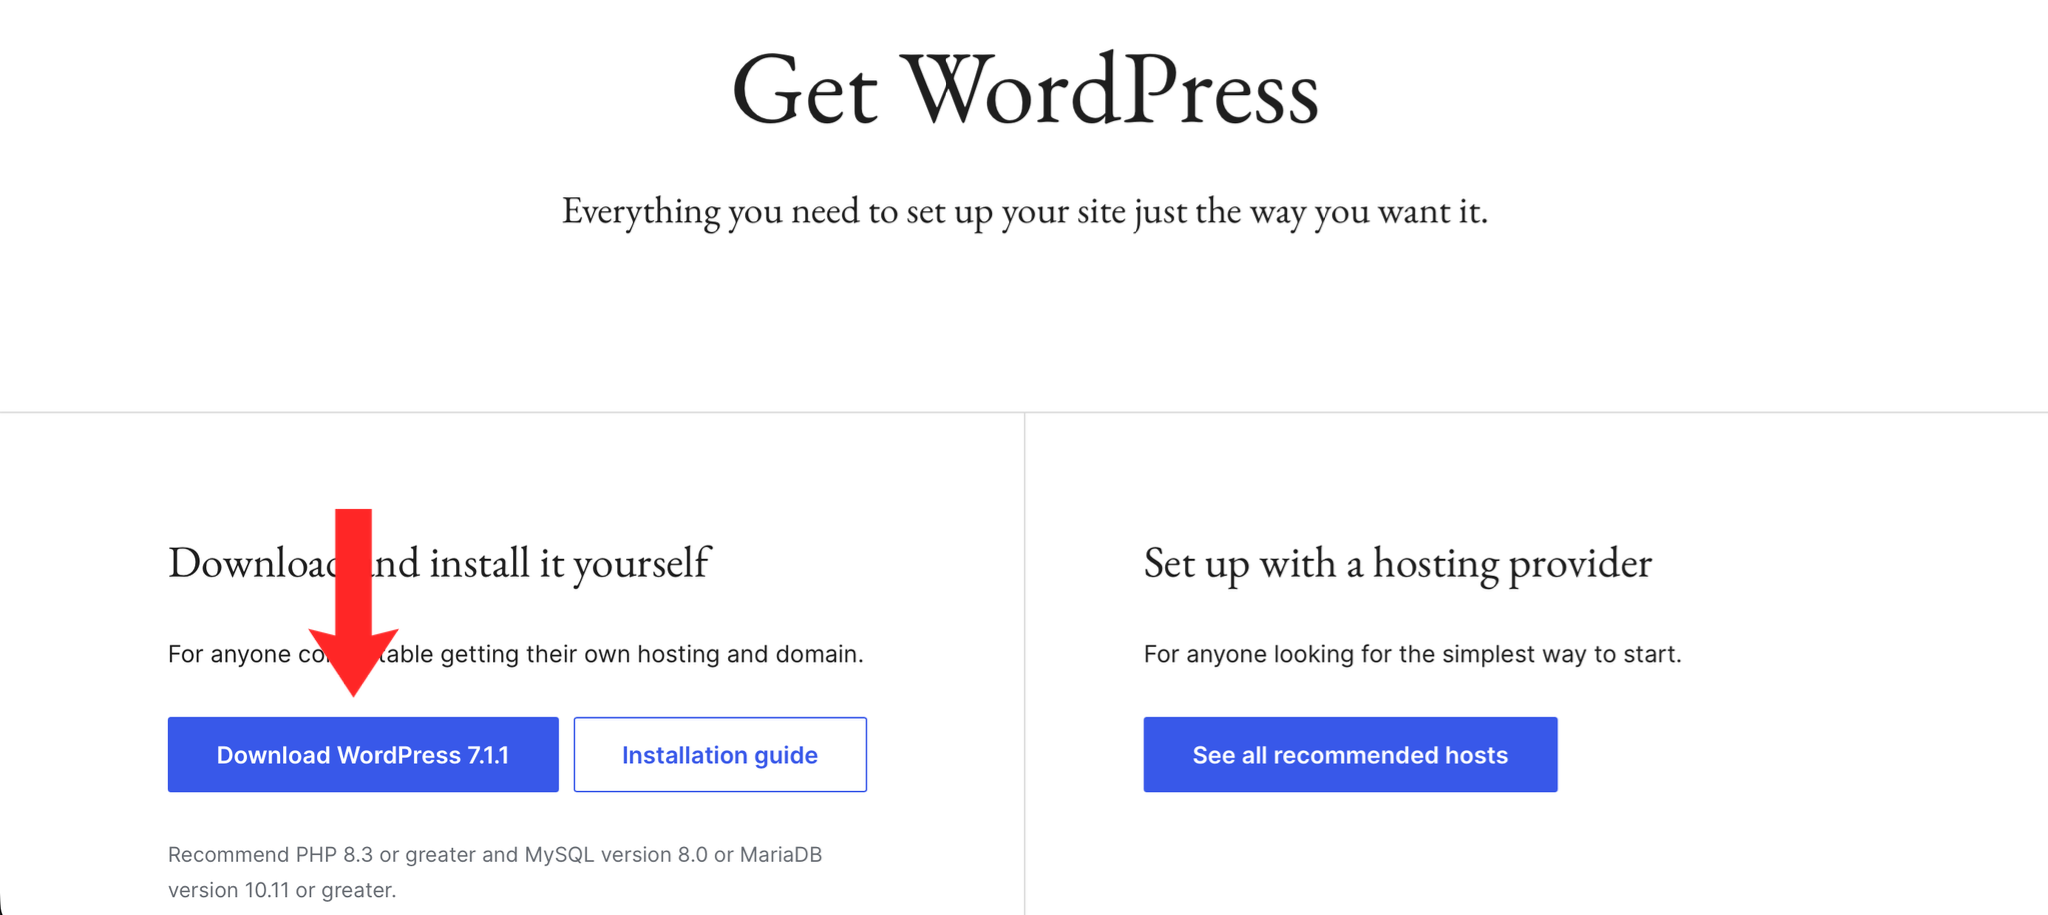
1. Download WordPress
Download the latest release from wordpress.org and extract the archive on your computer. You will end up with a folder named wordpress containing the files.
2. Create a Database and User
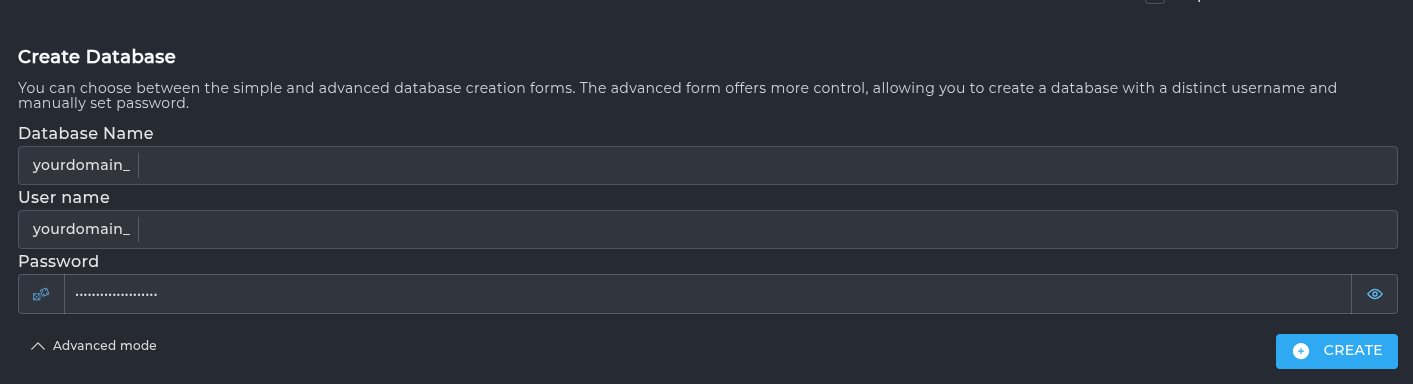
In your control panel, create a new database and a user, then assign the user to the database with full privileges. Note the database name, username and password: you will need all three shortly.
3. Upload the Files
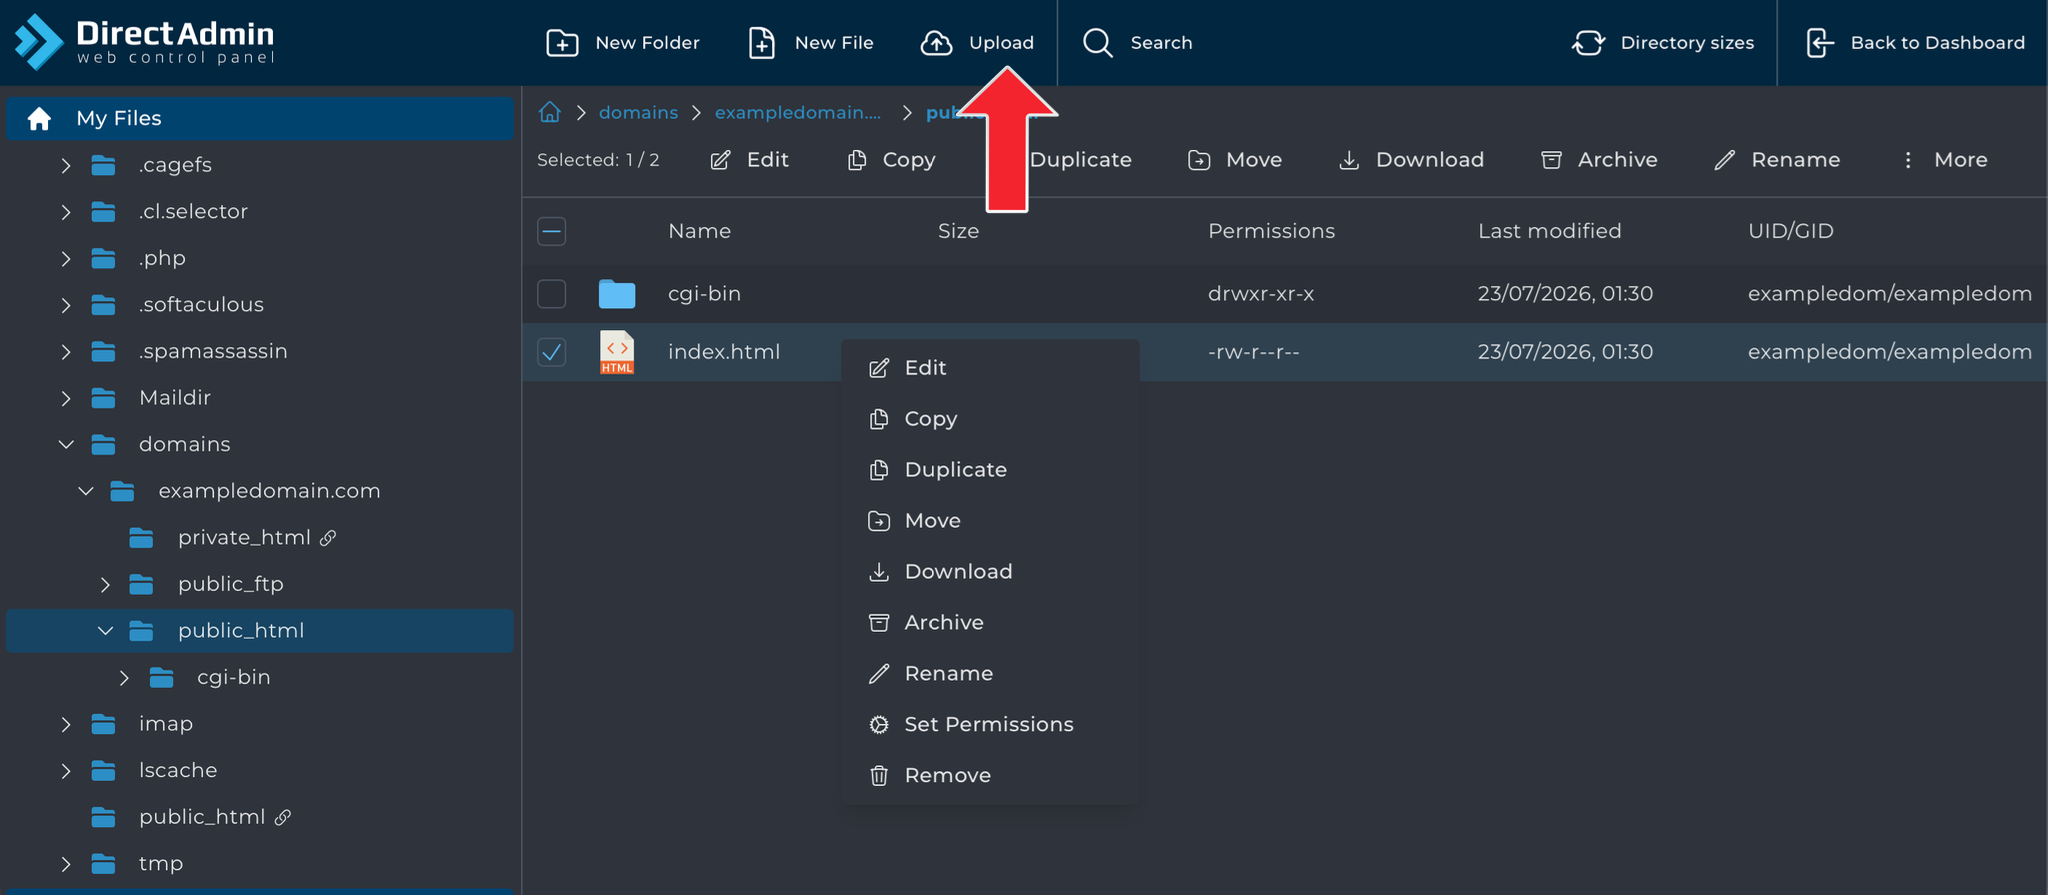
Upload the contents of the wordpress folder to the directory you want the site to run from. For a main domain that is usually public_html. Upload the contents rather than the folder itself, or the site will end up at /wordpress/.
4. Run the Installer
Visit your domain in a browser. WordPress detects that it has not been set up and starts the installer automatically.
5. Enter Your Database Details
Enter the database name, username and password from step 2. Leave the host as localhost unless your provider has told you otherwise. WordPress writes these into wp-config.php for you.
6. Complete the Installation
Set your site title, an administrator username and a strong password, and an email address for account recovery. Avoid admin as the username, since it is the first thing automated attacks try.
Next: log in and start setting it up with How to Log In to the WordPress Dashboard.