How to Use the File Manager in cPanel

This article will show you how to use the File Manager in cPanel.
Other ways to do this: everything here can also be done with an FTP client, which is faster for large numbers of files. See How to Create an FTP Account in cPanel.
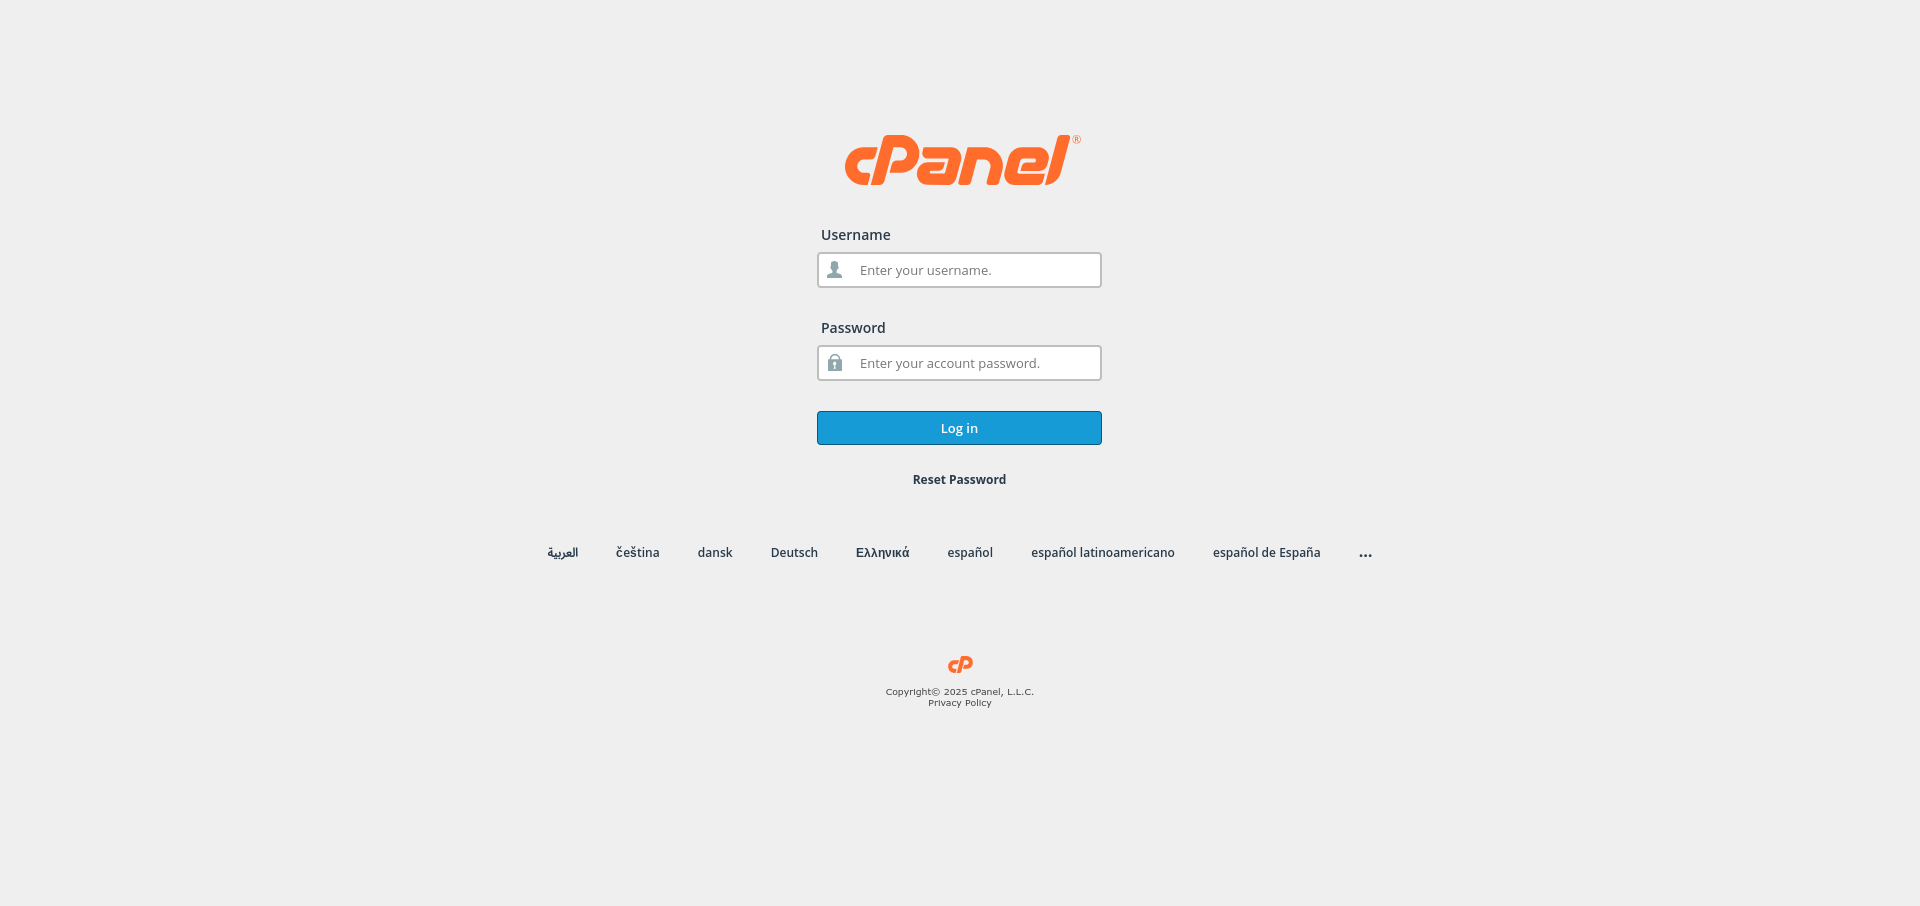
1. Log in to cPanel
Use your user details to log in to the cPanel control panel.
2. Navigate to the Files Section
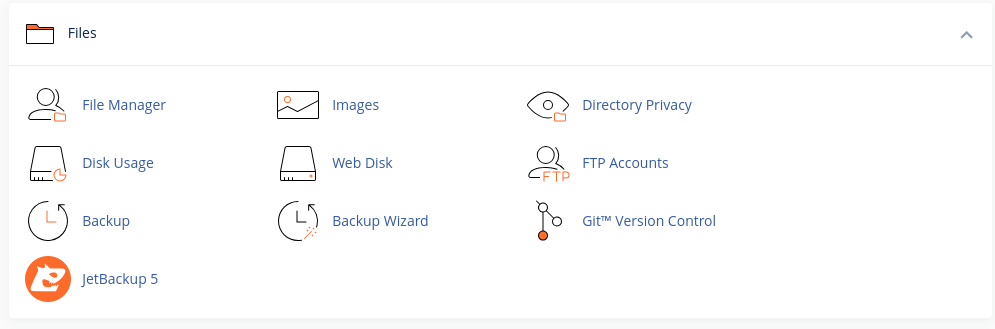
Scroll down and find the Files section in cPanel.
3. Access File Manager
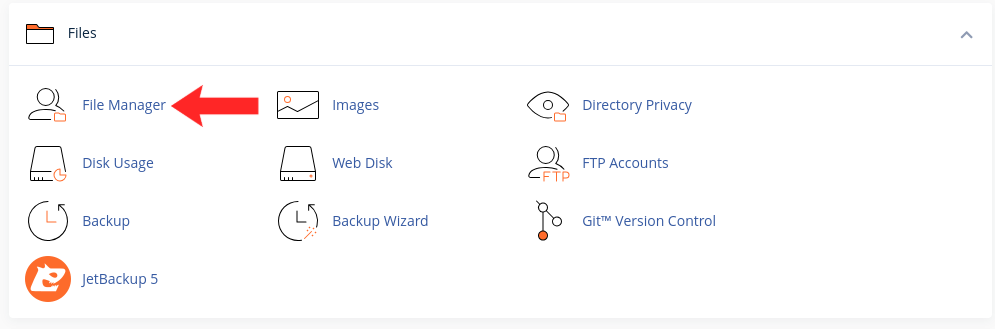
Click on the File Manager option under the Files section.
4. Choose the Directory to Open
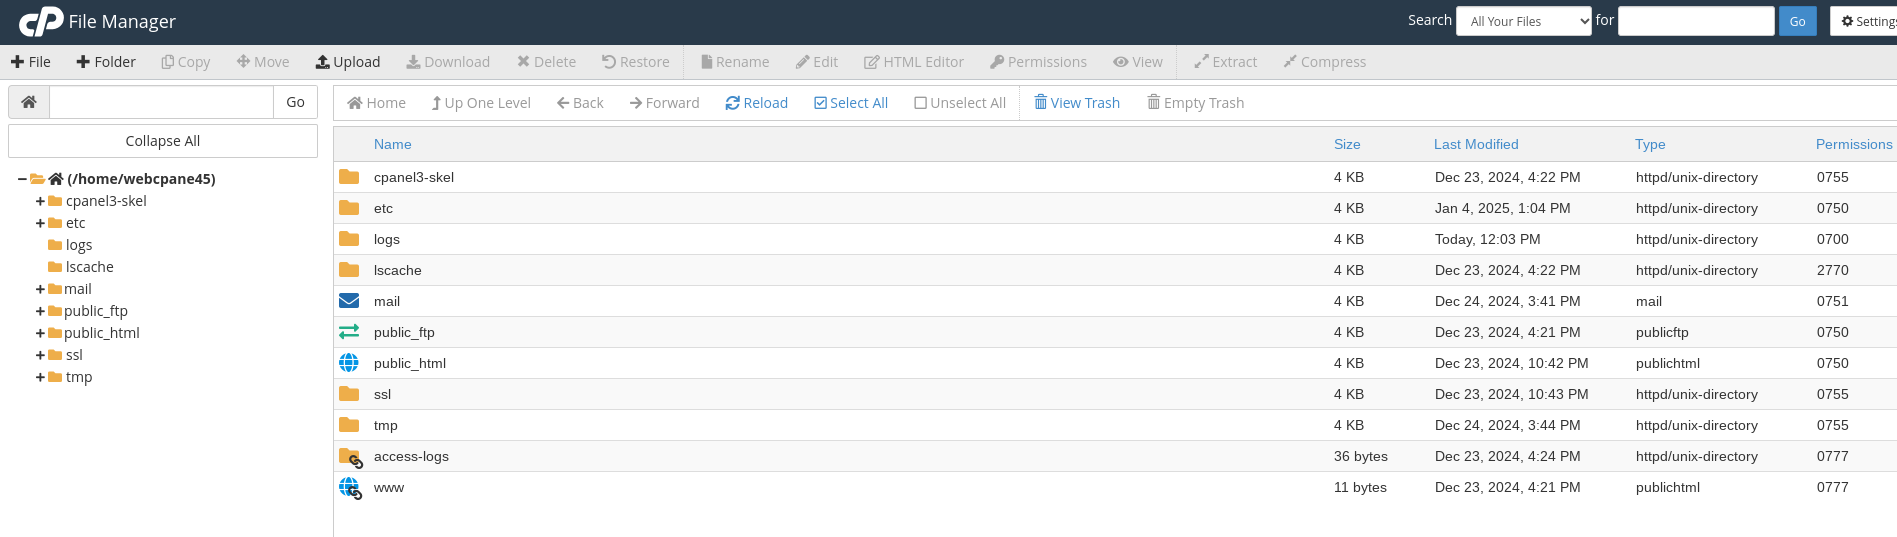
Select the directory you want to manage. The default directory is usually public_html, which holds your website files.
5. Upload Files
To upload files, click the Upload button in the top menu, choose the files from your local device, and upload them to the selected directory.

6. Manage Files and Folders
- Create Folders: Click the + Folder button to create a new folder.
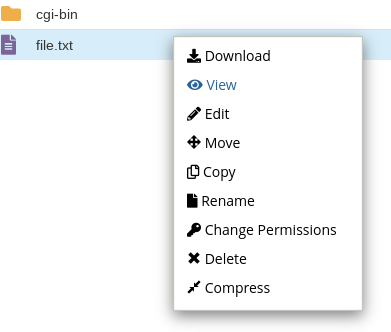
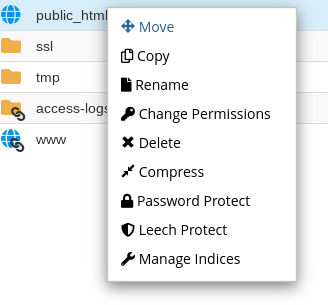
- Rename Files/Folders: Right-click on a file or folder and select Rename.
- Delete Files/Folders: Right-click and select Delete to remove files or folders.
- Move Files/Folders: Right-click and select Move, then specify the destination path.
7. Edit Files
Right-click on a file and choose Edit to open it in the built-in editor. Make changes and save them.
8. Set File Permissions
Right-click on a file or folder, select Change Permissions, and adjust the file permissions as needed.
9. Check Your Work
Files you have uploaded should appear at the expected path, and the site should load normally. If a page returns a 403 after an upload, permissions are the usual cause.
Next: How to Set Up Password Protection Using .htaccess shows how to restrict access to a folder you have just created.