How to Set Up Password Protection Using .htaccess

This article will show you how to set up password protection using .htaccess.
1. Create the .htpasswd File
- Use a text editor to create a new file named
.htpasswd. - Generate a username and password combination. You can use online tools to create an encrypted password.
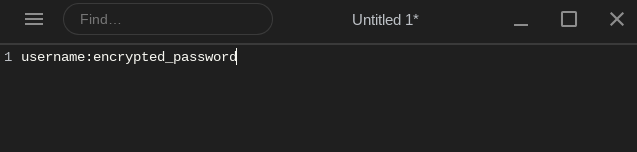
- Add the username and encrypted password to the
.htpasswdfile in the format:username:encrypted_password. - Save the
.htpasswdfile.
2. Upload the .htpasswd File
- For security reasons, place the
.htpasswdfile outside of your web root directory to prevent unauthorized access.
3. Create the .htaccess File
- Navigate to the directory you want to protect.
- Create a new file named
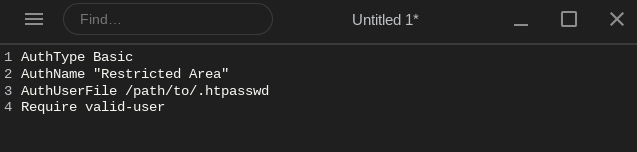
.htaccessin that directory. - Add the following lines to the
.htaccessfile:
AuthType Basic
AuthName "Restricted Area"
AuthUserFile /path/to/.htpasswd
Require valid-user- Replace
/path/to/.htpasswdwith the actual path to your.htpasswdfile.
4. Save and Upload the .htaccess File
- Save the
.htaccessfile and upload it to the directory you wish to protect.
5. Test the Password Protection
- Navigate to the protected directory in your web browser. You should be prompted to enter the username and password you set up.
Important Notes
- Ensure that the
.htpasswdfile is stored in a secure location outside the web root to prevent unauthorized access. - Additionally, verify that your server allows the use of
.htaccessfiles and that theAllowOverridedirective is enabled in the server configuration.
Next: How to Limit Access to Files or Directories Using .htaccess covers restricting access by IP address rather than by password.