How to Create an FTP Account in cPanel

This article will show you how to create an FTP account in cPanel.
Before you start: an FTP account is separate from your cPanel login and gets its own password. The directory you choose becomes the only part of the account that user can reach, so set it deliberately.
Other ways to do this: if you only need to move a few files, the File Manager in cPanel does the same job without any software. See How to Use the File Manager in cPanel.
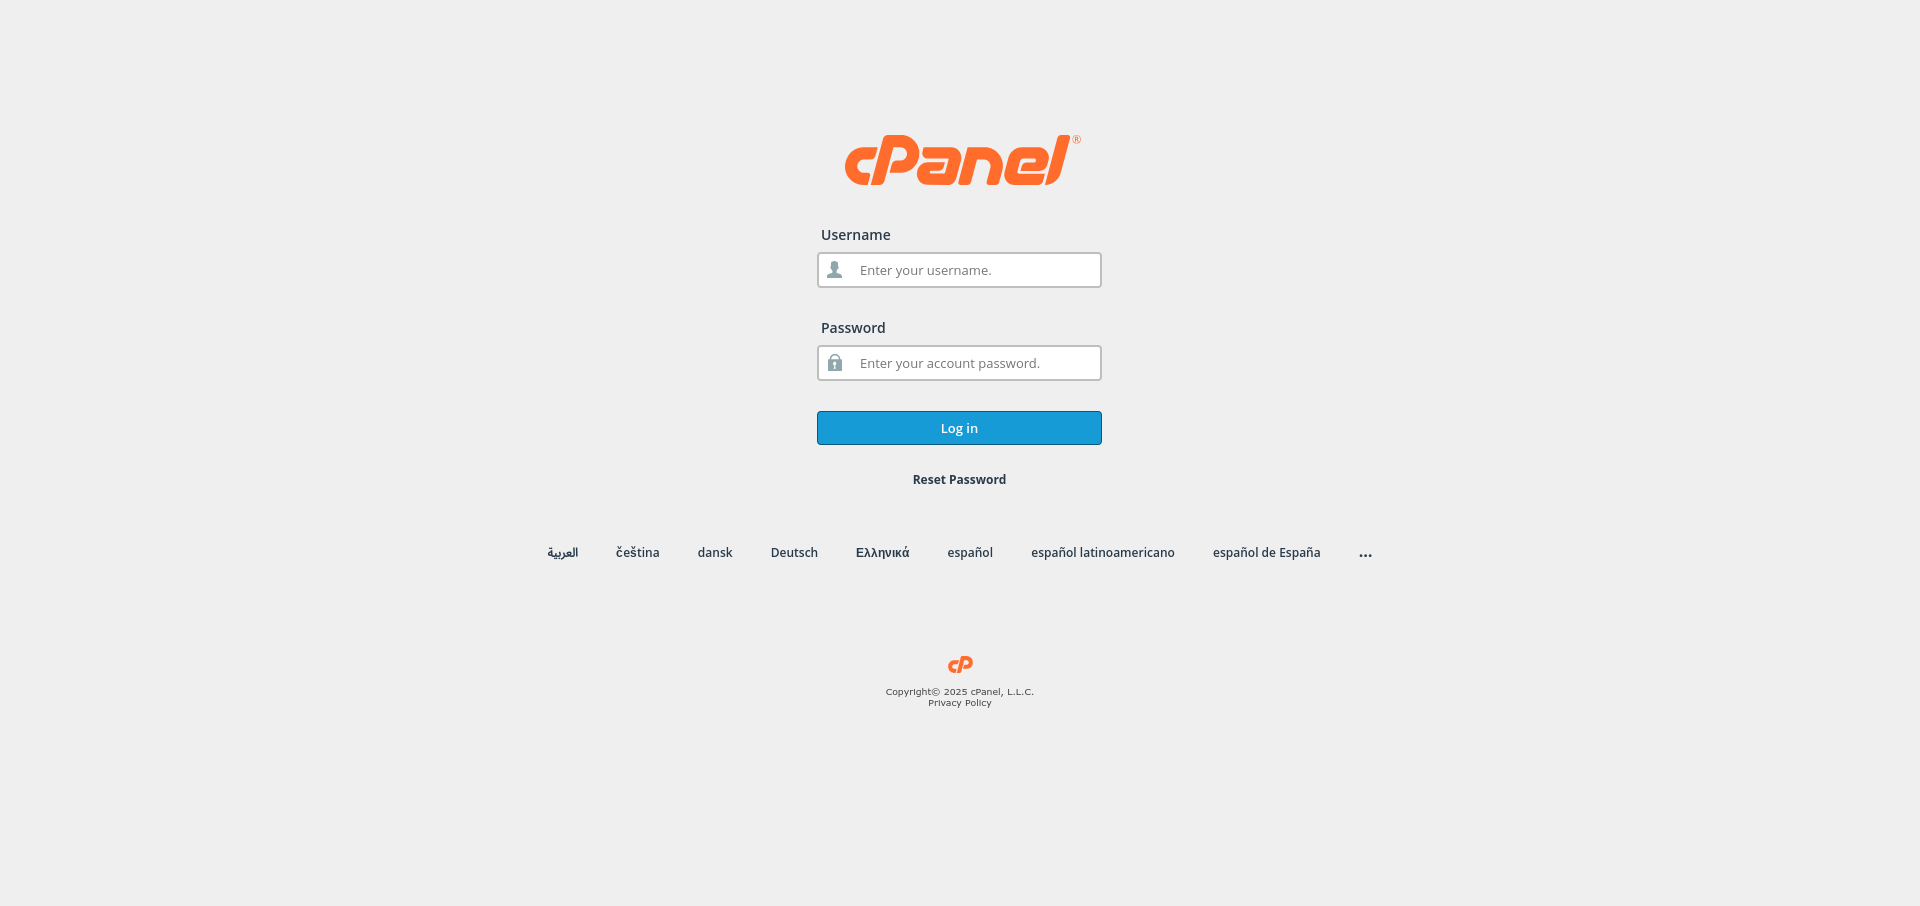
1. Log in to cPanel
Use your user details to log in to the cPanel control panel.
2. Navigate to the Files Section
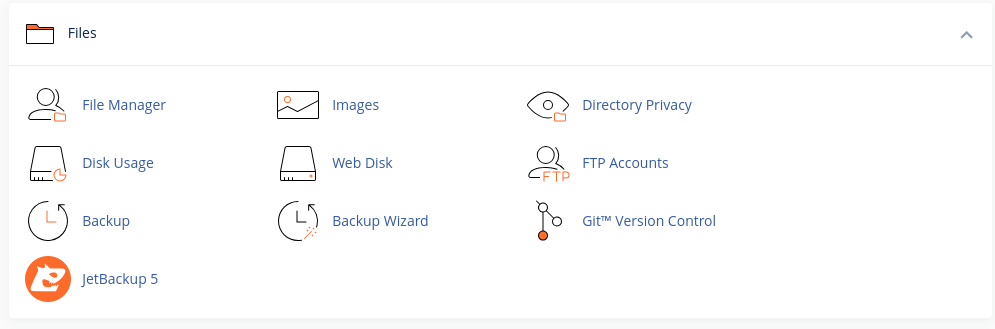
Scroll down and find the Files section in cPanel.
3. Access FTP Accounts
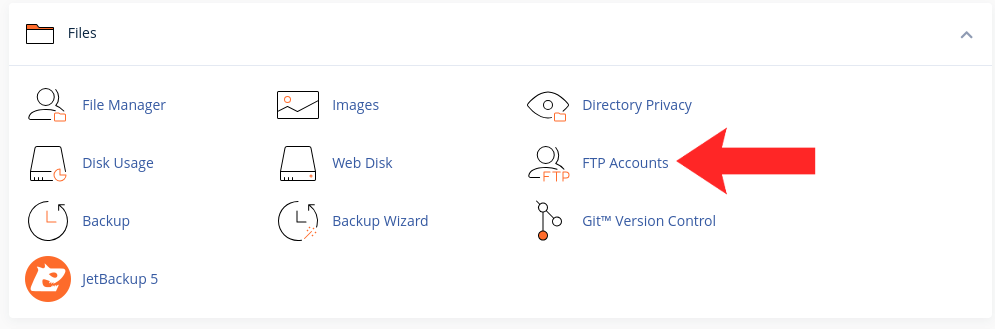
Click on the FTP Accounts option under the Files section.
4. Create a New FTP Account
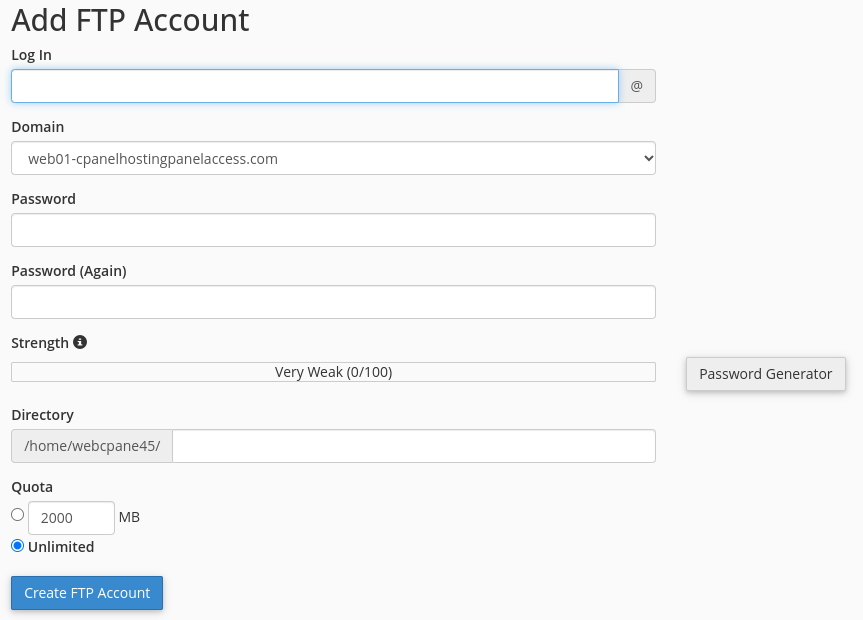
In the FTP Accounts page, under Add FTP Account, do the following:
- Log in: Enter the username for your FTP account (e.g. ftpuser).
- Domain: Select the domain associated with your FTP account from the drop-down.
- Password: Choose a strong password or use the Password Generator to create one.
- Directory: Specify the directory this FTP account will have access to (e.g. public_html for your website files).
- If you want the account to have full access, leave the directory as public_html.
- You can restrict access by specifying a different directory.
- Quota: Set the amount of disk space the FTP account can use, or select Unlimited.
5. Create the Account
Click the Create FTP Account button to finish creating the account.

6. Verify the Account
The new FTP account should appear in the list. Test it with an FTP client using the full username, which is normally the account name including the domain.
Next: How to Use the File Manager in cPanel covers the same job through the browser if you would rather not use an FTP client.