How to Control Browser Caching with .htaccess

This article will show you how to control browser caching with .htaccess.
1. Access Your Website's Files
- Log in to your hosting control panel or use an FTP client to manage your website's files.
2. Navigate to the Root Directory
- Locate and open the
public_htmldirectory or the root directory of your website.
3. Edit the .htaccess File
- If a
.htaccessfile exists, open it for editing. - If it doesn't exist, create a new file named
.htaccess.
4. Add Cache Control Directives
- Insert the following code to set cache expiration times for various file types:
# Enable mod_expires
ExpiresActive On

# Set default expiration time to 1 month
ExpiresDefault "access plus 1 month"

# Set specific expiration times for different file types
ExpiresByType image/jpeg "access plus 1 year"
ExpiresByType image/gif "access plus 1 year"
ExpiresByType image/png "access plus 1 year"
ExpiresByType text/css "access plus 1 month"
ExpiresByType application/javascript "access plus 1 month"
ExpiresByType application/font-woff2 "access plus 1 year"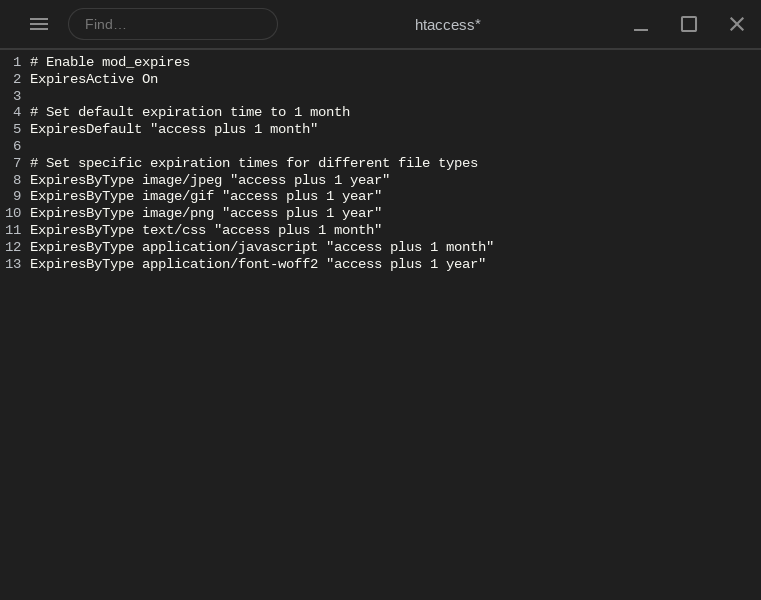
This configuration sets the following cache expiration times:
- Images (JPEG, GIF, PNG): Cached for 1 year.
- CSS and JavaScript files: Cached for 1 month.
- Web Open Font Format 2 (WOFF2) fonts: Cached for 1 year.
- Adjust these durations as needed to balance performance and content freshness.
5. Save and Upload the .htaccess File
- Save the changes to the
.htaccessfile. - Upload the file back to the root directory if you edited it locally.
6. Verify the Changes
- Clear your browser cache.
- Visit your website to ensure that the caching behaviour aligns with your settings.
Important Notes
- Ensure that the
mod_expiresmodule is enabled on your server. If it's not enabled, you can use themod_headersmodule to set cache control headers:
Next: How to Convert to User-Friendly URLs Using .htaccess covers another .htaccess change that affects how visitors reach your pages.