How to Upgrade or Downgrade a Service in Blesta

This article will show you how to upgrade or downgrade a service in Blesta.
Before you start: an upgrade normally takes effect immediately and generates a pro-rata invoice for the difference. A downgrade may reduce limits below what you currently use, so check your disk and bandwidth figures first.
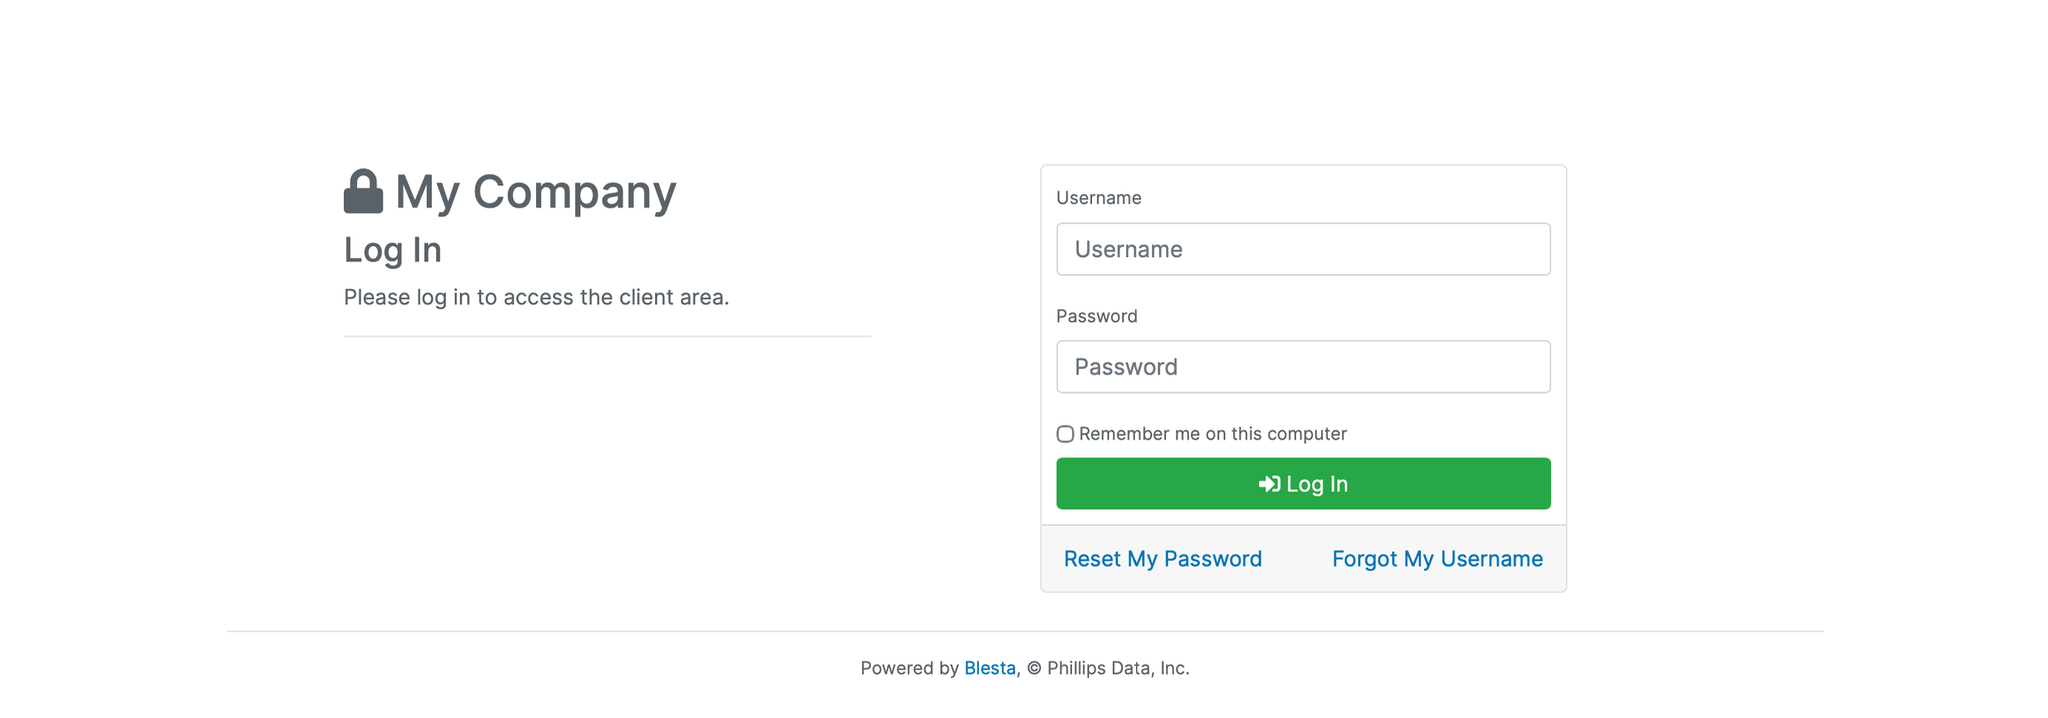
1. Log in to the Blesta Client Area
Use your credentials to log in to your Blesta client area.
2. Navigate to Services
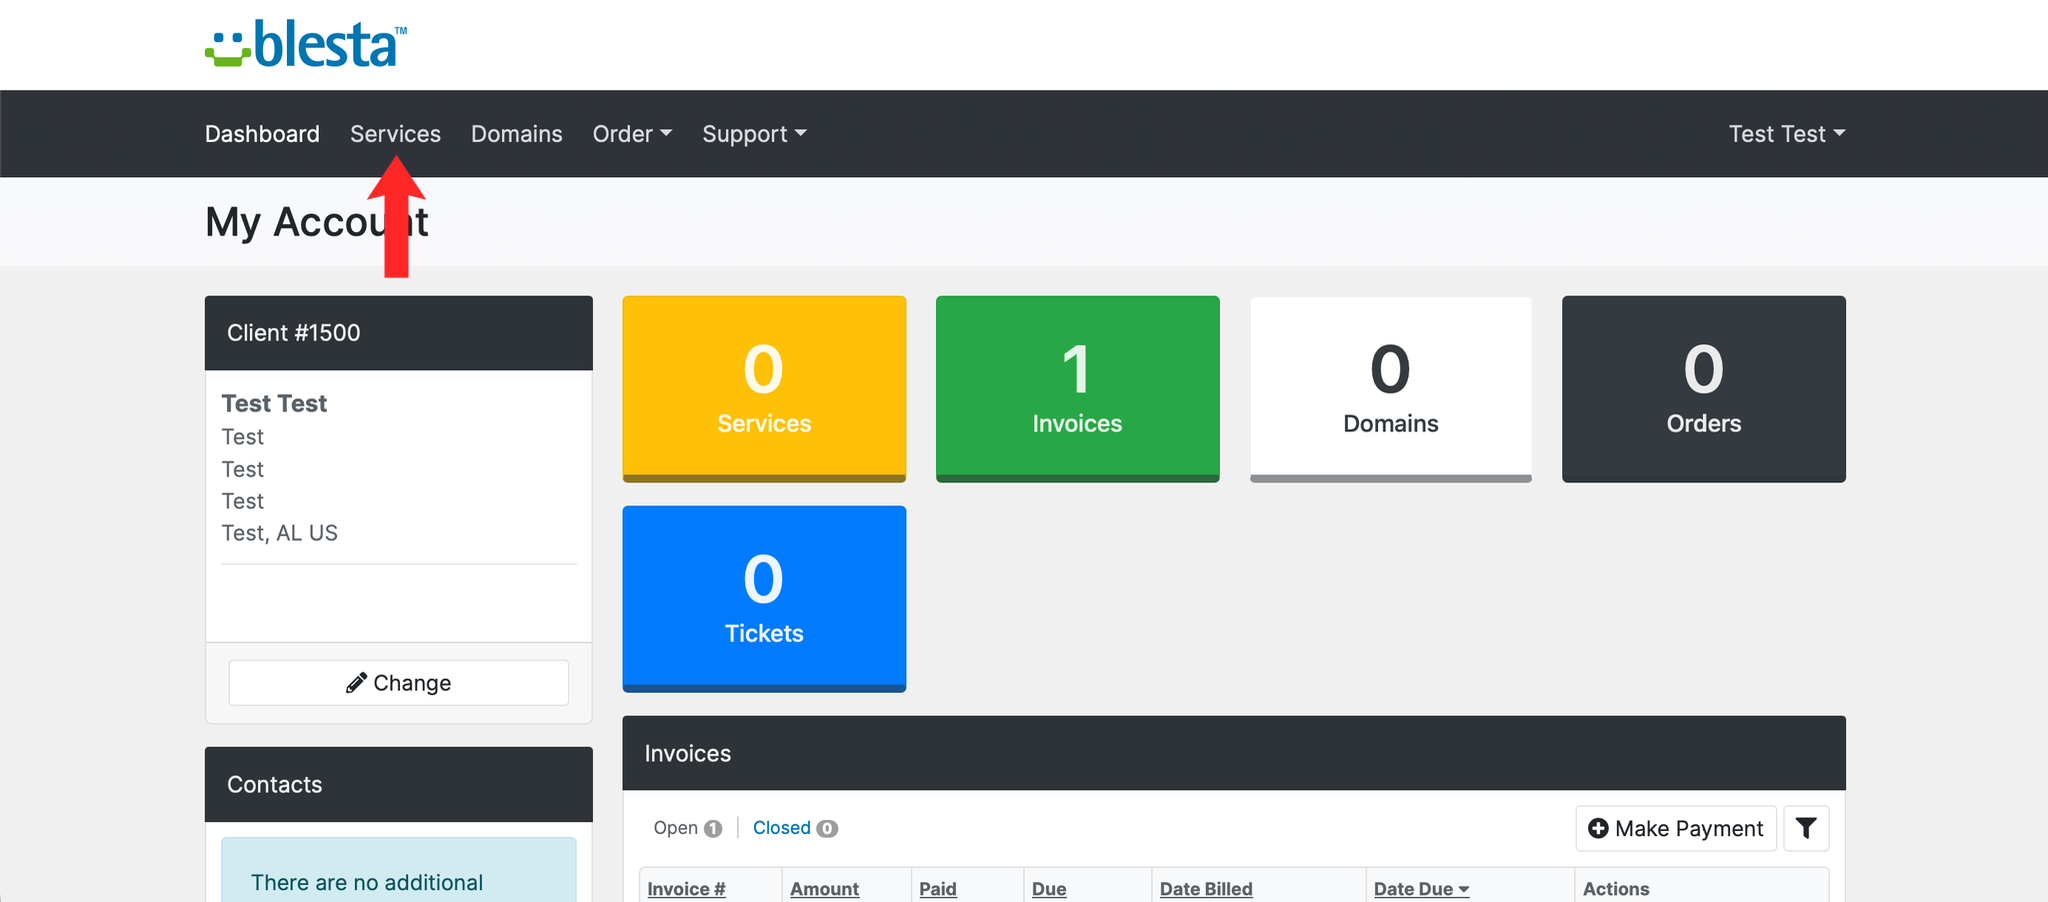
Click on Services in the navigation menu and select My Services.
3. Select the Service to Upgrade or Downgrade
Locate the service you want to change and click on it to open the service details.
4. Click Upgrade or Downgrade
Click the Upgrade/Downgrade button on the service details page.
5. Select a New Package
Choose your desired package from the list of available options.
6. Confirm the Change
Review the new package details and any pro-rata charges, then click Continue to confirm the change.
7. Verify the Change
The service should show its new package. If a pro-rata invoice was generated, pay it to complete the change.
Next: How to Pay an Invoice in Blesta covers paying any difference the change creates.