How to Add or Manage Additional Contacts on Your Account in Blesta

This article will show you how to add or manage additional contacts on your account in Blesta.
Before you start: an additional contact can be given access to parts of your account. Decide what they should be able to see before you create them, since billing access includes your invoices and payment details.
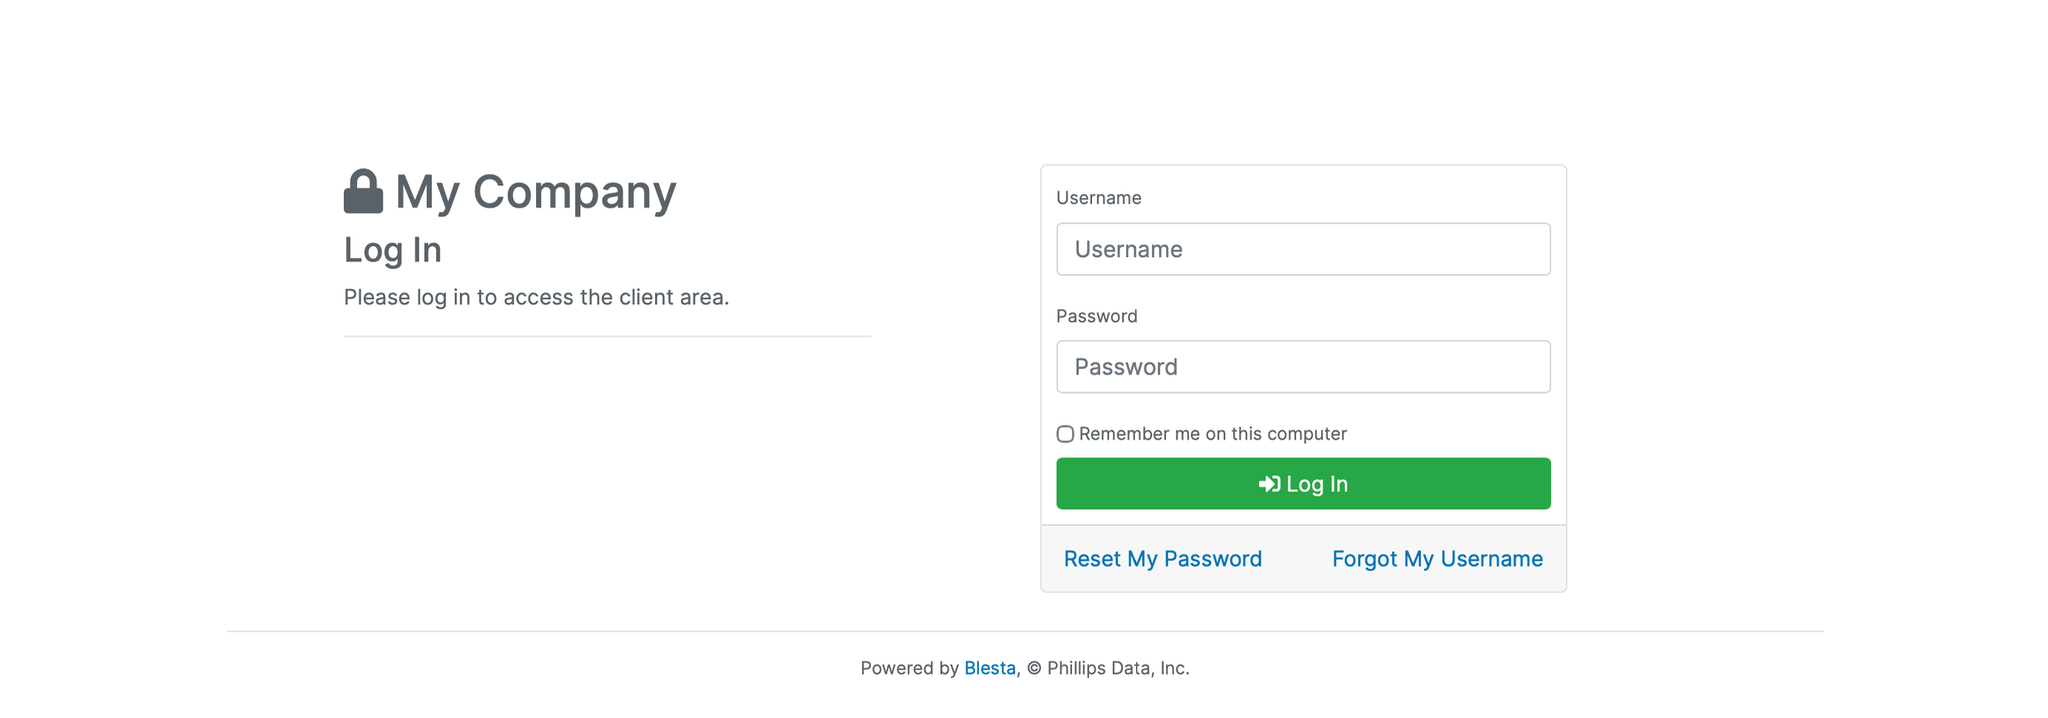
1. Log in to the Blesta Client Area
Use your credentials to log in to your Blesta client area.
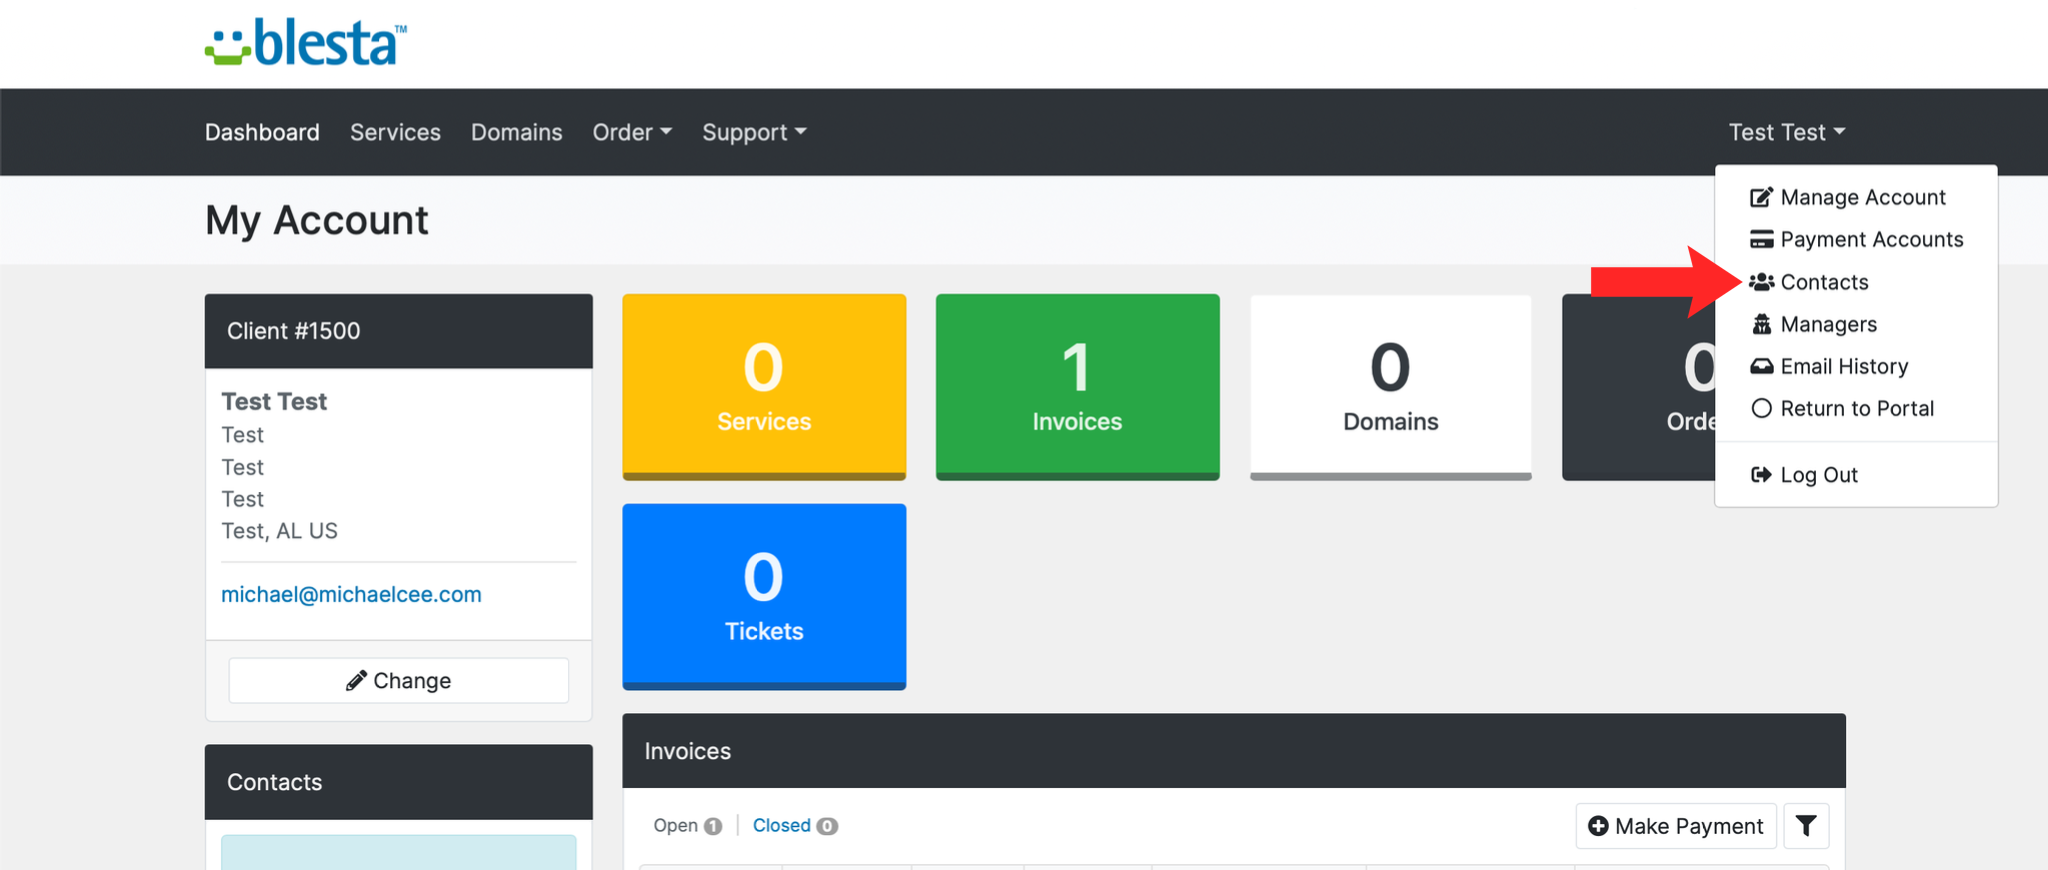
2. Navigate to Contacts
Click on your name in the top right corner and select Contacts.
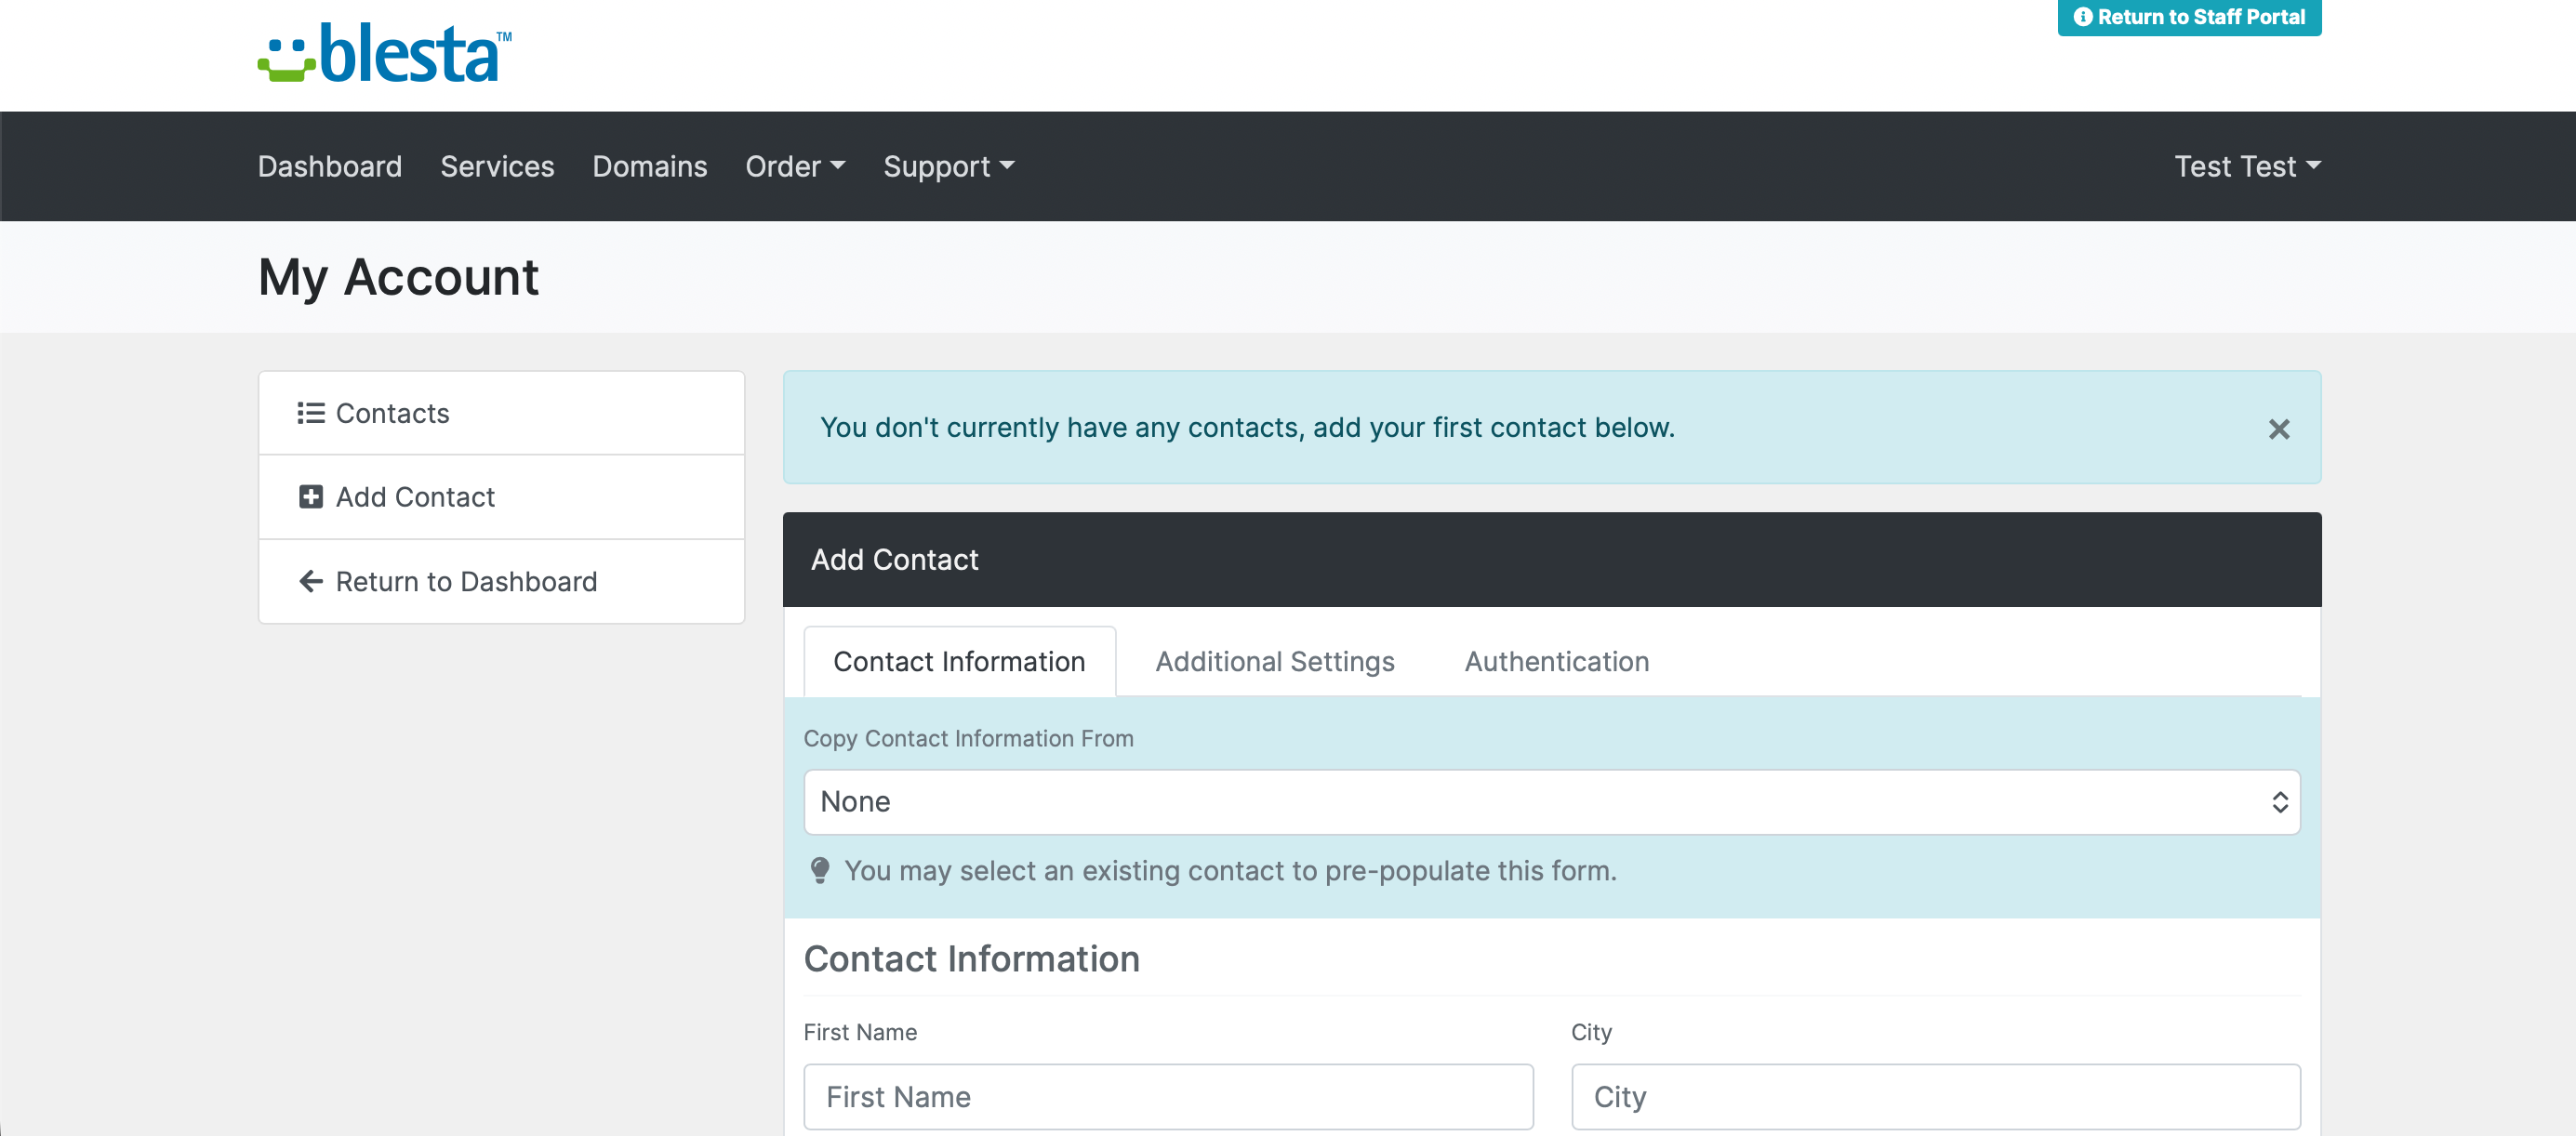
3. Add a New Contact
Click Add Contact, or if this is the first contact on the account simply enter their name, email address, and contact type (such as Billing or Technical).
4. Set Their Permissions
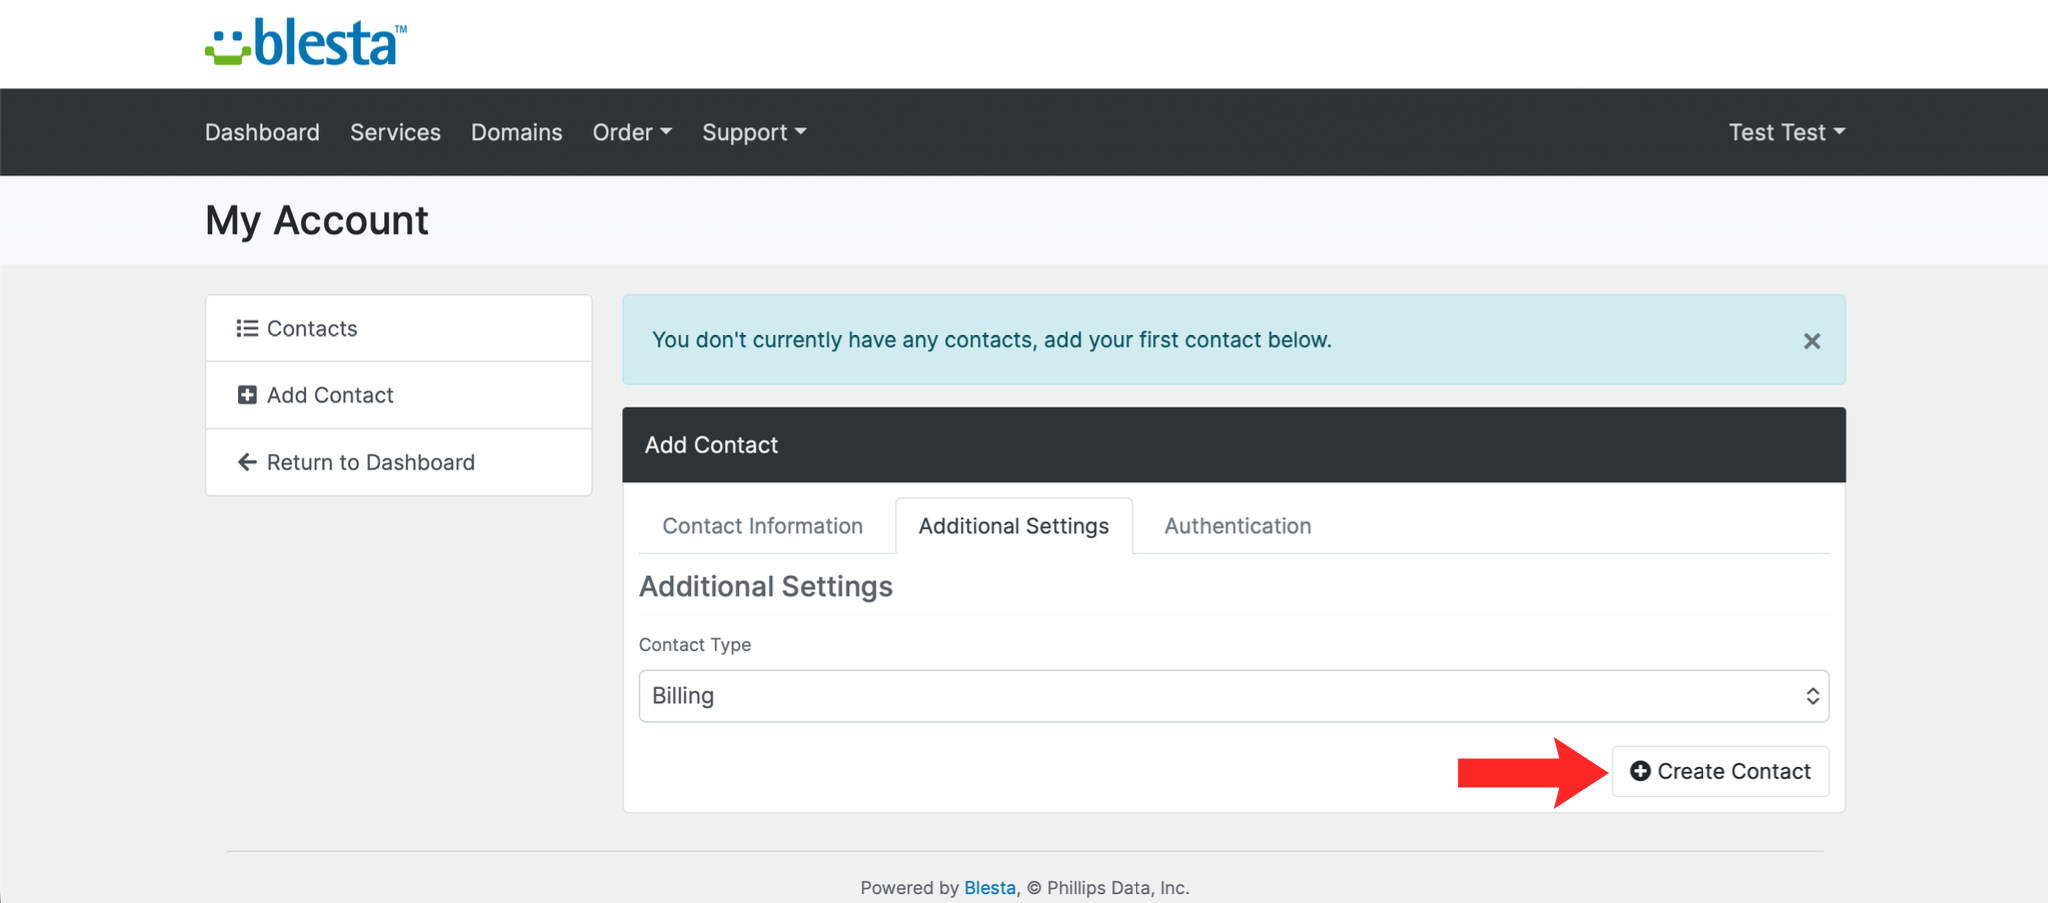
Choose what this contact is allowed to see and do, such as viewing invoices or opening support tickets from the Additional Settings tab.
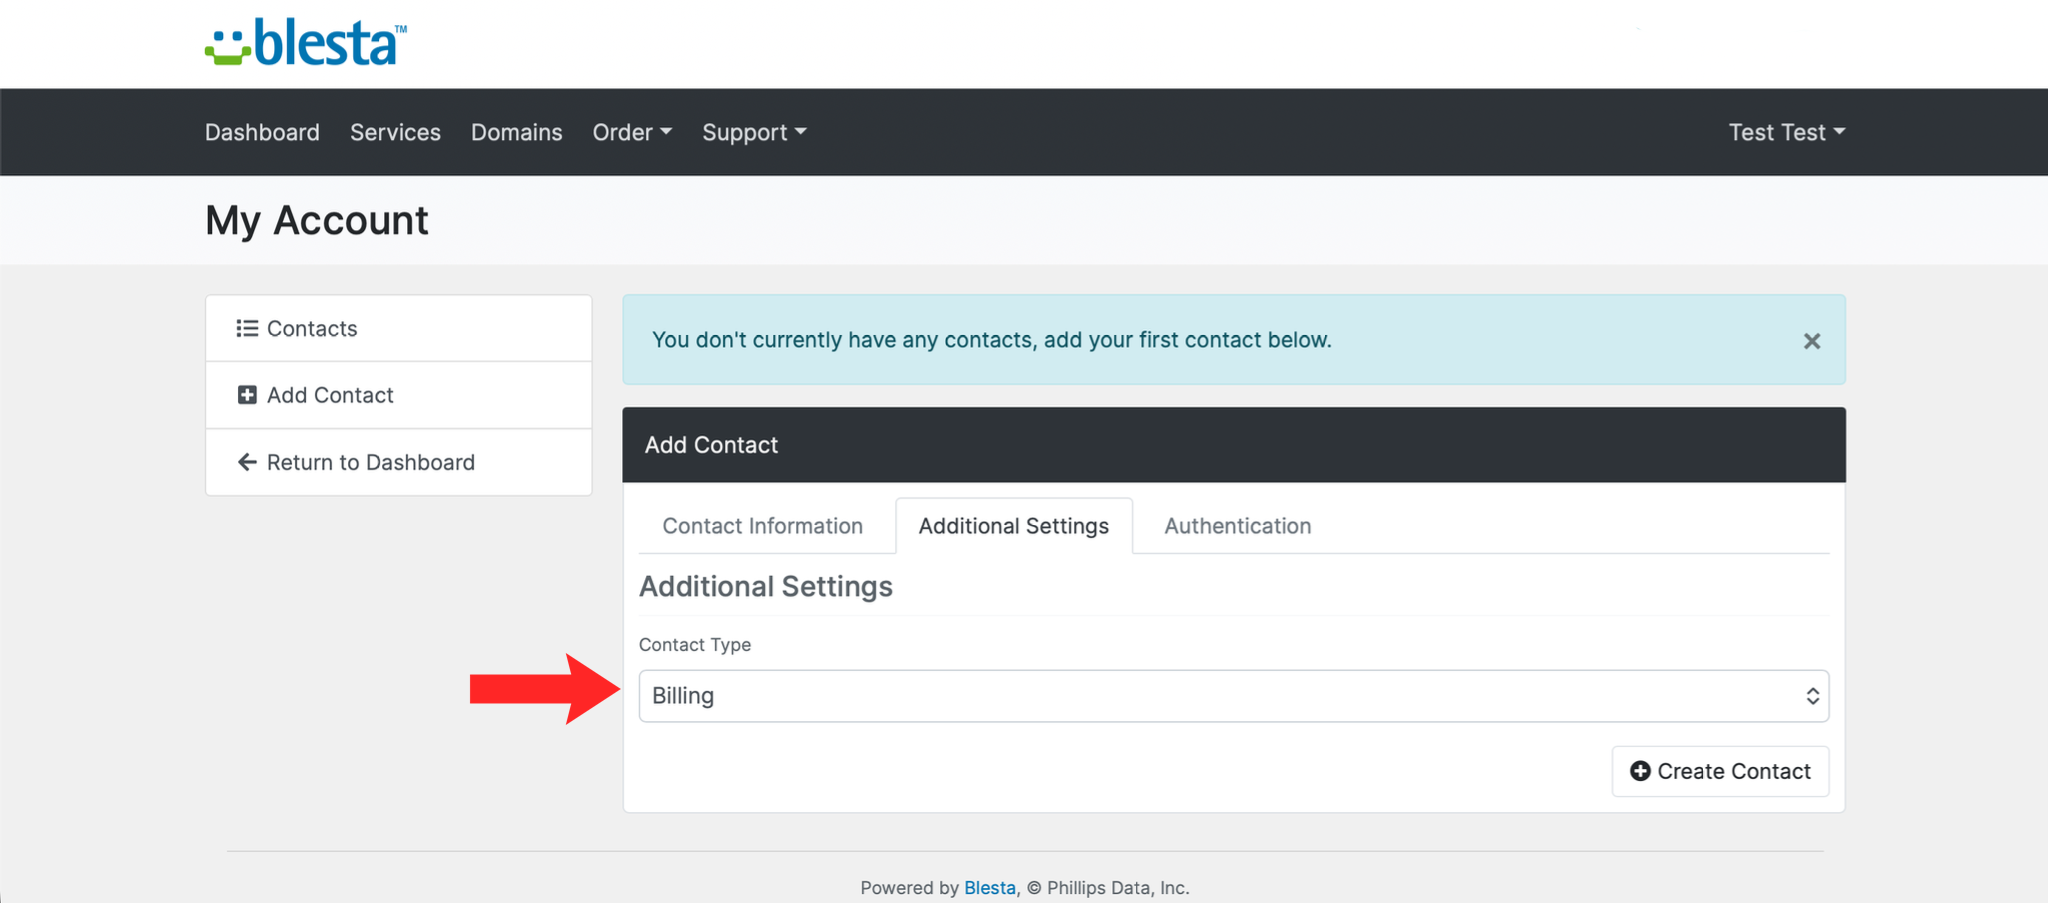
5. Save the Contact
Click Create Contact to save your changes.
6. Verify the Contact
The new contact should appear in your contacts list with the permissions you set. They receive their own login details by email.
Next: How to Update Your Contact Details in Blesta covers keeping your own details current too.